Shipped from the EU
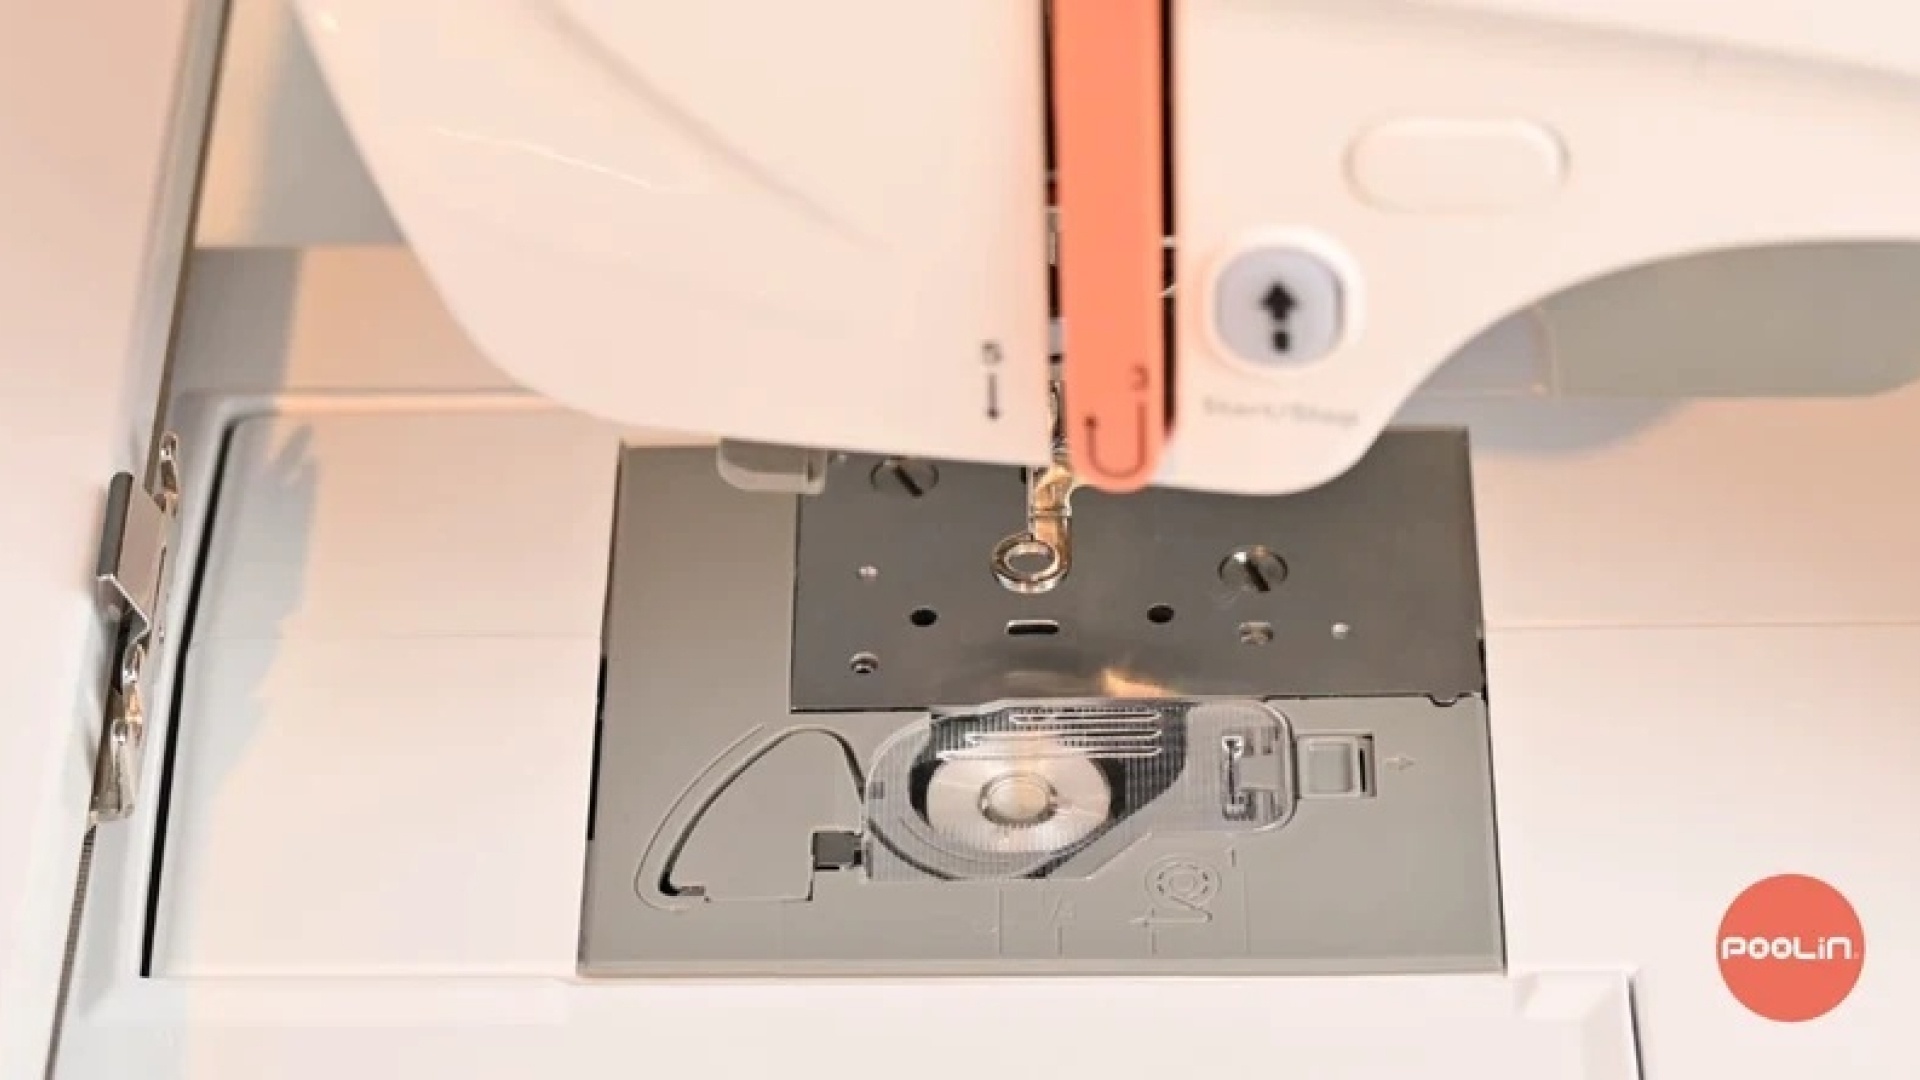
Installing the bobbin correctly is one of the first and most important steps when learning how to set up an embroidery machine. A correctly installed bobbin helps your PooLin EOC05 produce smooth, even stitches while preventing common problems such as thread jams, bird's nests, and uneven thread tension.
Whether you've just unboxed your machine or need a refresher, this step-by-step tutorial will show you how to install a bobbin quickly and correctly. We've also included the original video guide below if you prefer to follow along visually.
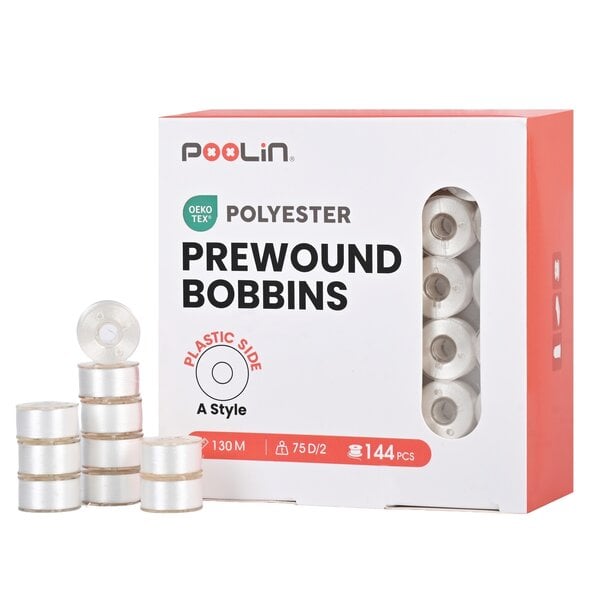
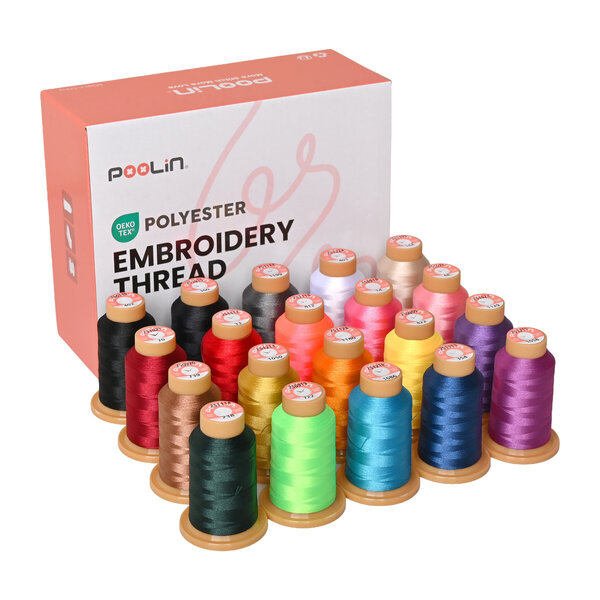
Before you begin, make sure you have the following items ready:
Locate the bobbin compartment at the lower front of your embroidery machine. Gently open the bobbin cover and inside you'll see the bobbin case sitting in the hook assembly.
Take a moment to ensure the area is clean and free from lint or loose thread before installing the bobbin.
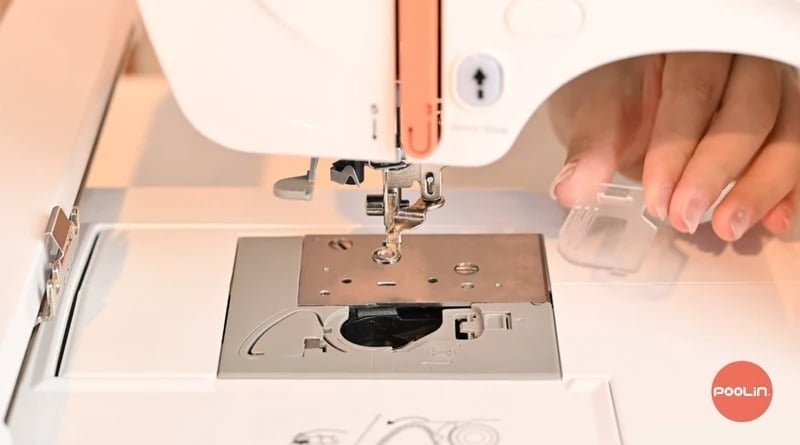
Place the bobbin into the bobbin case.
Important: When you pull the thread, the bobbin should rotate counter-clockwise and the thread should come out smoothly.
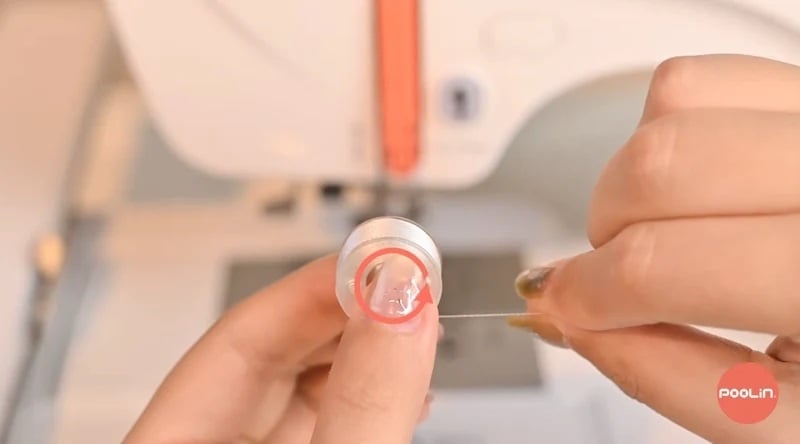
If the bobbin turns in the opposite direction, simply take it out and reinsert it correctly. Installing the bobbin in the correct orientation is essential for proper thread tension and stitch quality.
Next, guide the bobbin thread through the bobbin case. You can follow the arrows that are shown on the plastic cover.
As you pull the thread, you should feel a slight, consistent resistance. This indicates that the thread is correctly positioned under the tension spring.
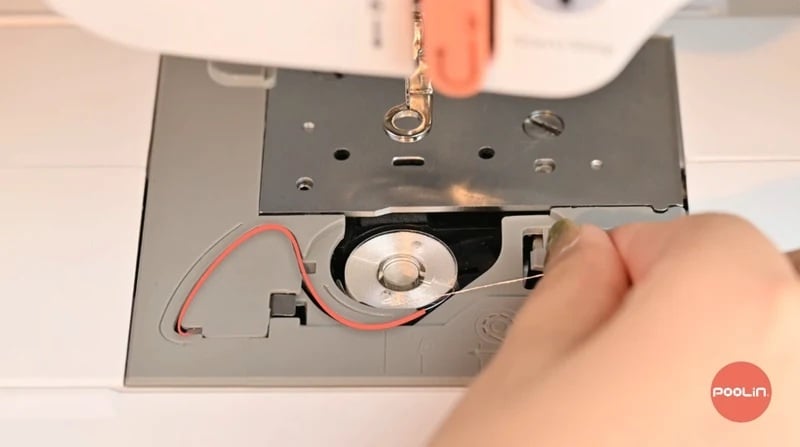
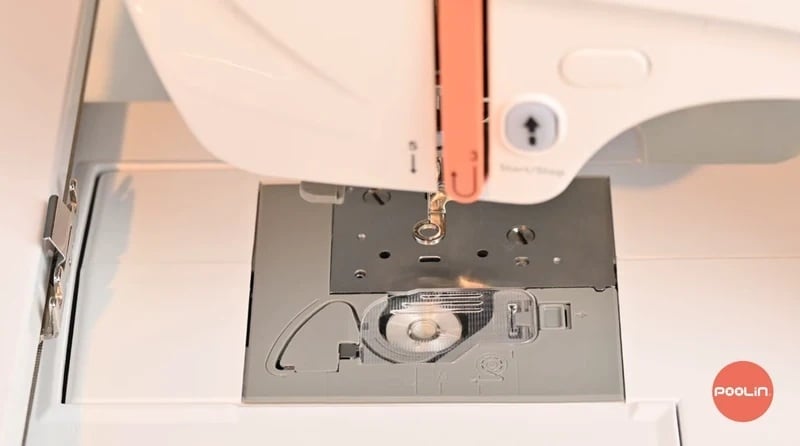
Carefully close the bobbin cover, making sure that the cover is fully closed and the thread isn't trapped or pinched.
Your bobbin is now installed!
If you're new to machine embroidery, these are the most common mistakes to avoid:
Taking a few extra seconds to check your installation can save a lot of frustration later, by preventing tension issues and thread jams.
Before loading your embroidery design, it's worth performing a quick test.
We recommend:
If everything looks even, you're ready to begin your embroidery project.
Whether you're creating personalised gifts, clothing, or home décor, learning how to install a bobbin correctly is one of the essential skills for achieving professional-looking embroidery every time.
You can find everything you need to embroider right here.