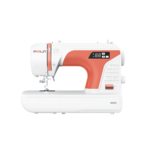
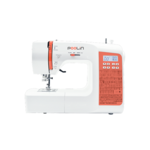
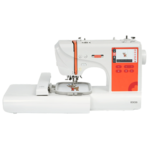
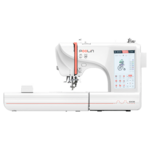
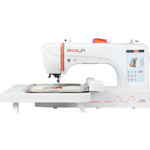
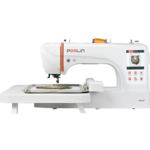
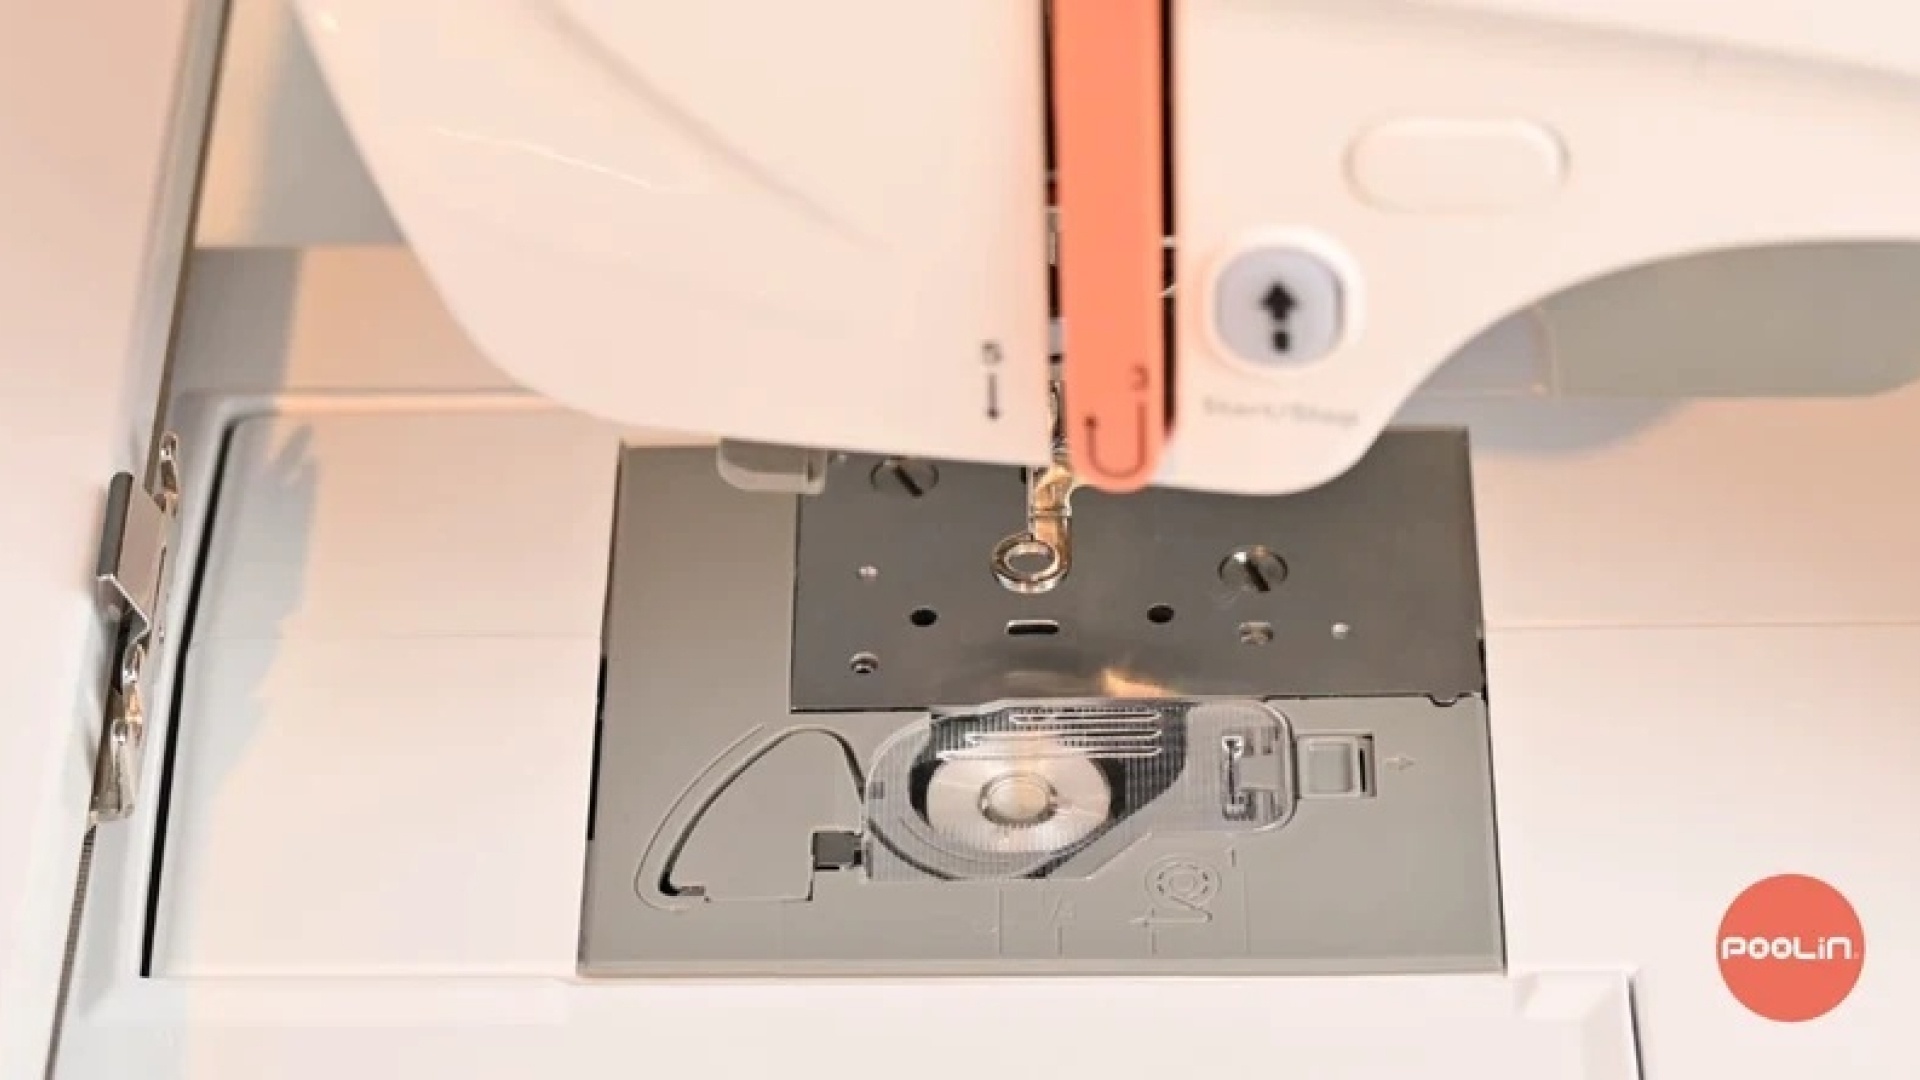
How to thread a PooLin EOC03 or EOC05 embroidery machine
Learning how to thread an embroidery machine correctly is one of the first skills every embroiderer should master. Proper threading helps your machine produce neat, consistent stitches while preventing common problems such as thread breaks, looping, skipped stitches, and thread jams.
In this PooLin starter guide, we'll walk you through the complete threading process step by step. You can either follow the written instructions below or watch the video to see each stage in action.
Whether you've just unpacked your embroidery machine or simply need a refresher, this guide will help you get your PooLin EOC03 or EOC05 ready for your next project.
What you'll need
Before you begin threading your embroidery machine, gather the following:
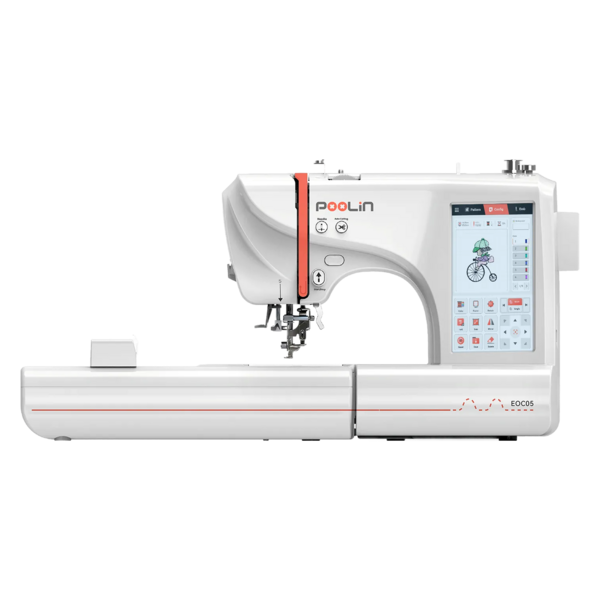
PooLin EOC03 embroidery machine or PooLin EOC05 embroidery machine
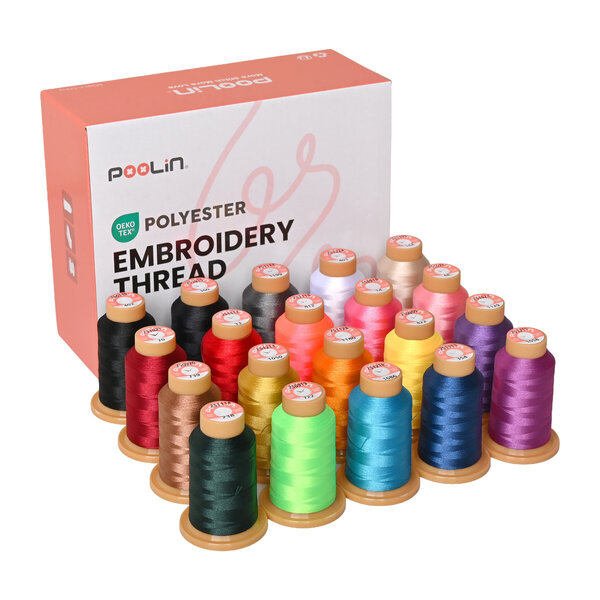
Polyester embroidery thread
Thread stand (optional)
Tweezers (optional)
Having everything prepared before you start makes the setup process much smoother.
Why correct threading matters
Many embroidery problems can be traced back to incorrect threading. Even experienced users occasionally miss a thread guide or tension point, especially when using a new machine.
Correctly threading your embroidery machine helps to:
Prevent thread breaks
Avoid thread jams and looping
Improve stitch quality
Maintain even thread tension
Reduce interruptions during long embroidery jobs
Spending a minute checking your thread path can save a great deal of time troubleshooting later.
Before you thread the machine
Before threading your PooLin EOC03 or EOC05 embroidery machine, check a few simple things:
Install the thread spool correctly.
Make sure the needle is fitted securely.
Remove any leftover thread from previous projects.
You can also already prepare your fabric and stabiliser, so everything is ready once threading is complete.
A few moments of preparation will help your embroidery run more smoothly.
Raise the presser foot
Always begin by raising the presser foot. This is an important step because it opens the tension discs, allowing the thread to seat correctly inside the machine. Forgetting to raise the presser foot is one of the most common causes of tension problems.
Choose your threading method
PooLin embroidery machines support two different ways of feeding thread.
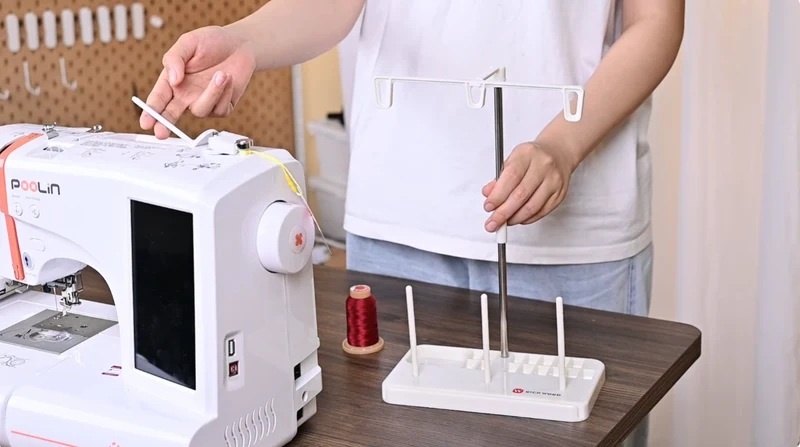
Option 1: use a thread stand
A separate thread stand is the preferred option, particularly when using larger embroidery cones.
For the best results:
Position the thread stand slightly higher than the machine.
Place the thread cone on the stand.
Feed the thread through the guide at the top before routing it into the embroidery machine.
This creates a smoother thread path and reduces drag during stitching.
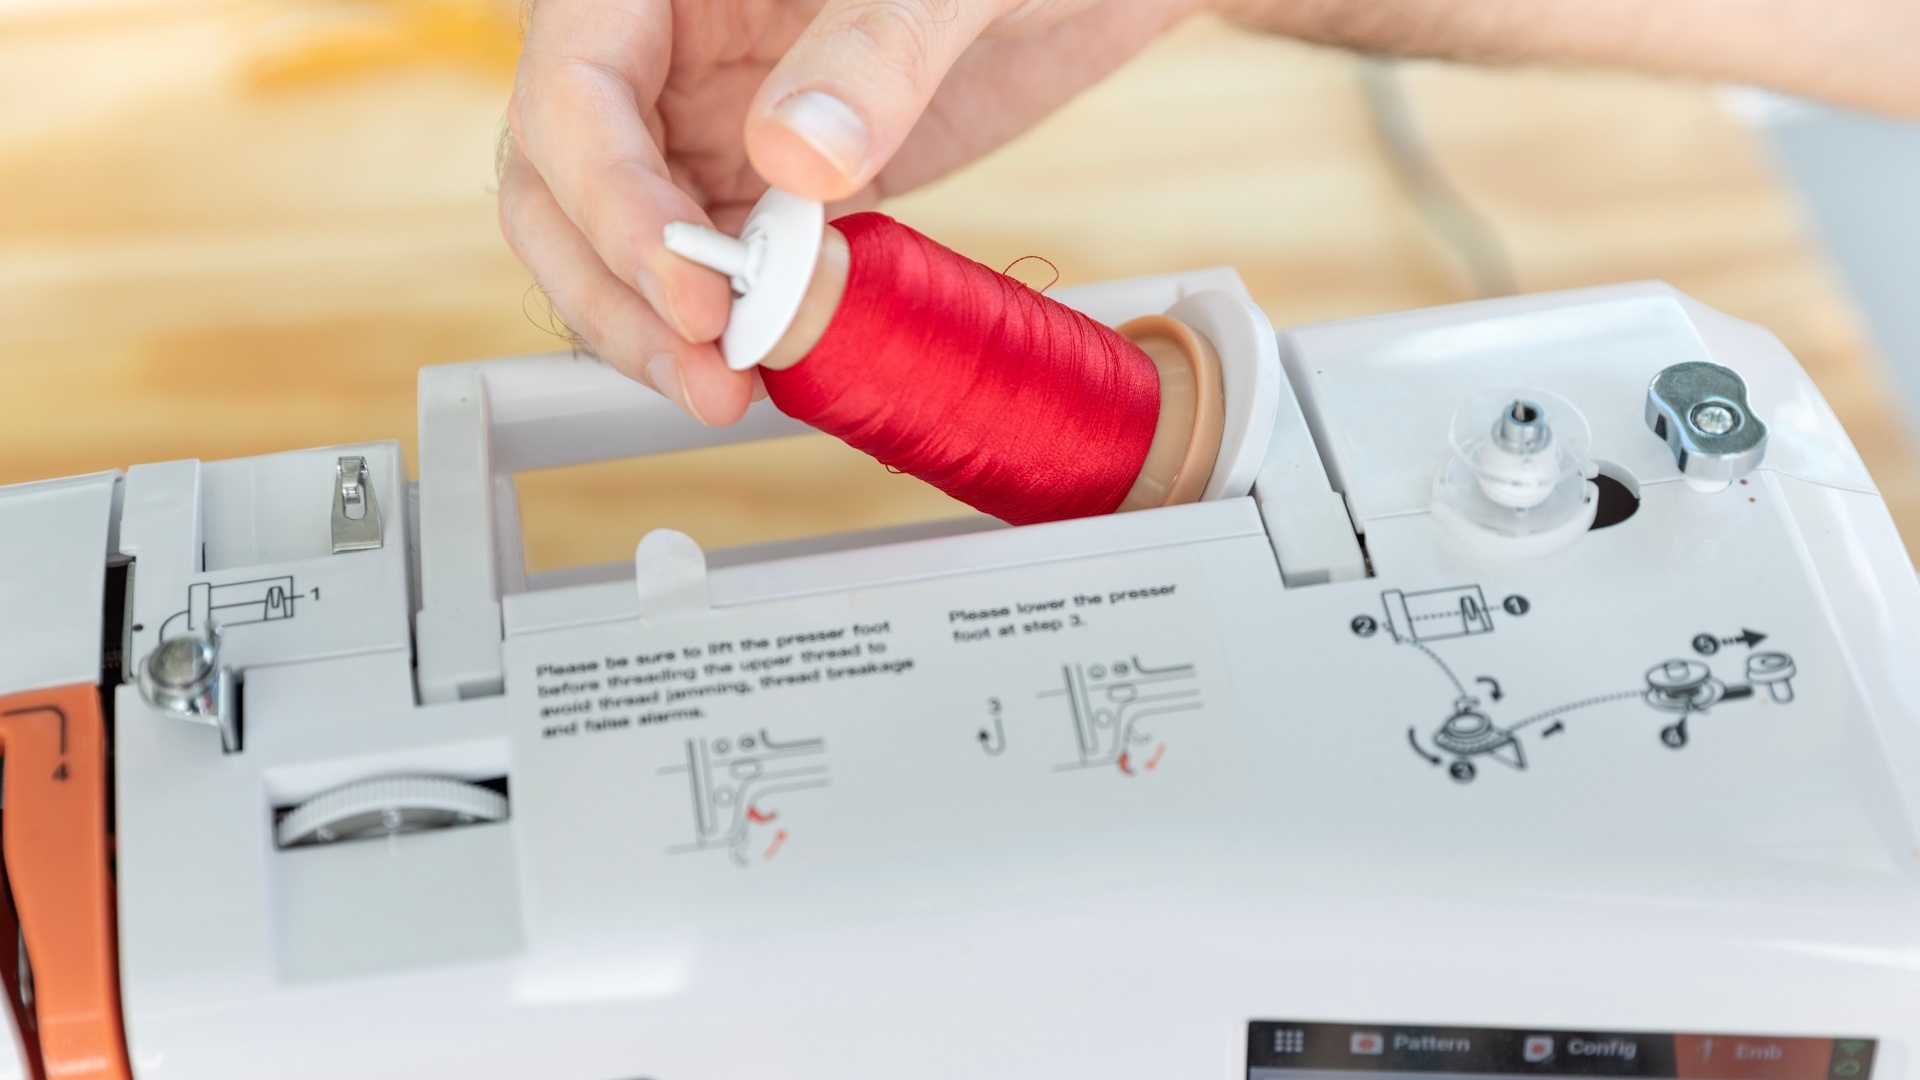
Option 2: use the built-in spool holder
Alternatively, you can place your standard size thread spool directly on the machine's spool holder.
If you use this method, fit a spool cap to stop the thread spool from lifting or wobbling while the machine is running.
Both methods work well as long as the thread feeds freely.
Follow the thread path
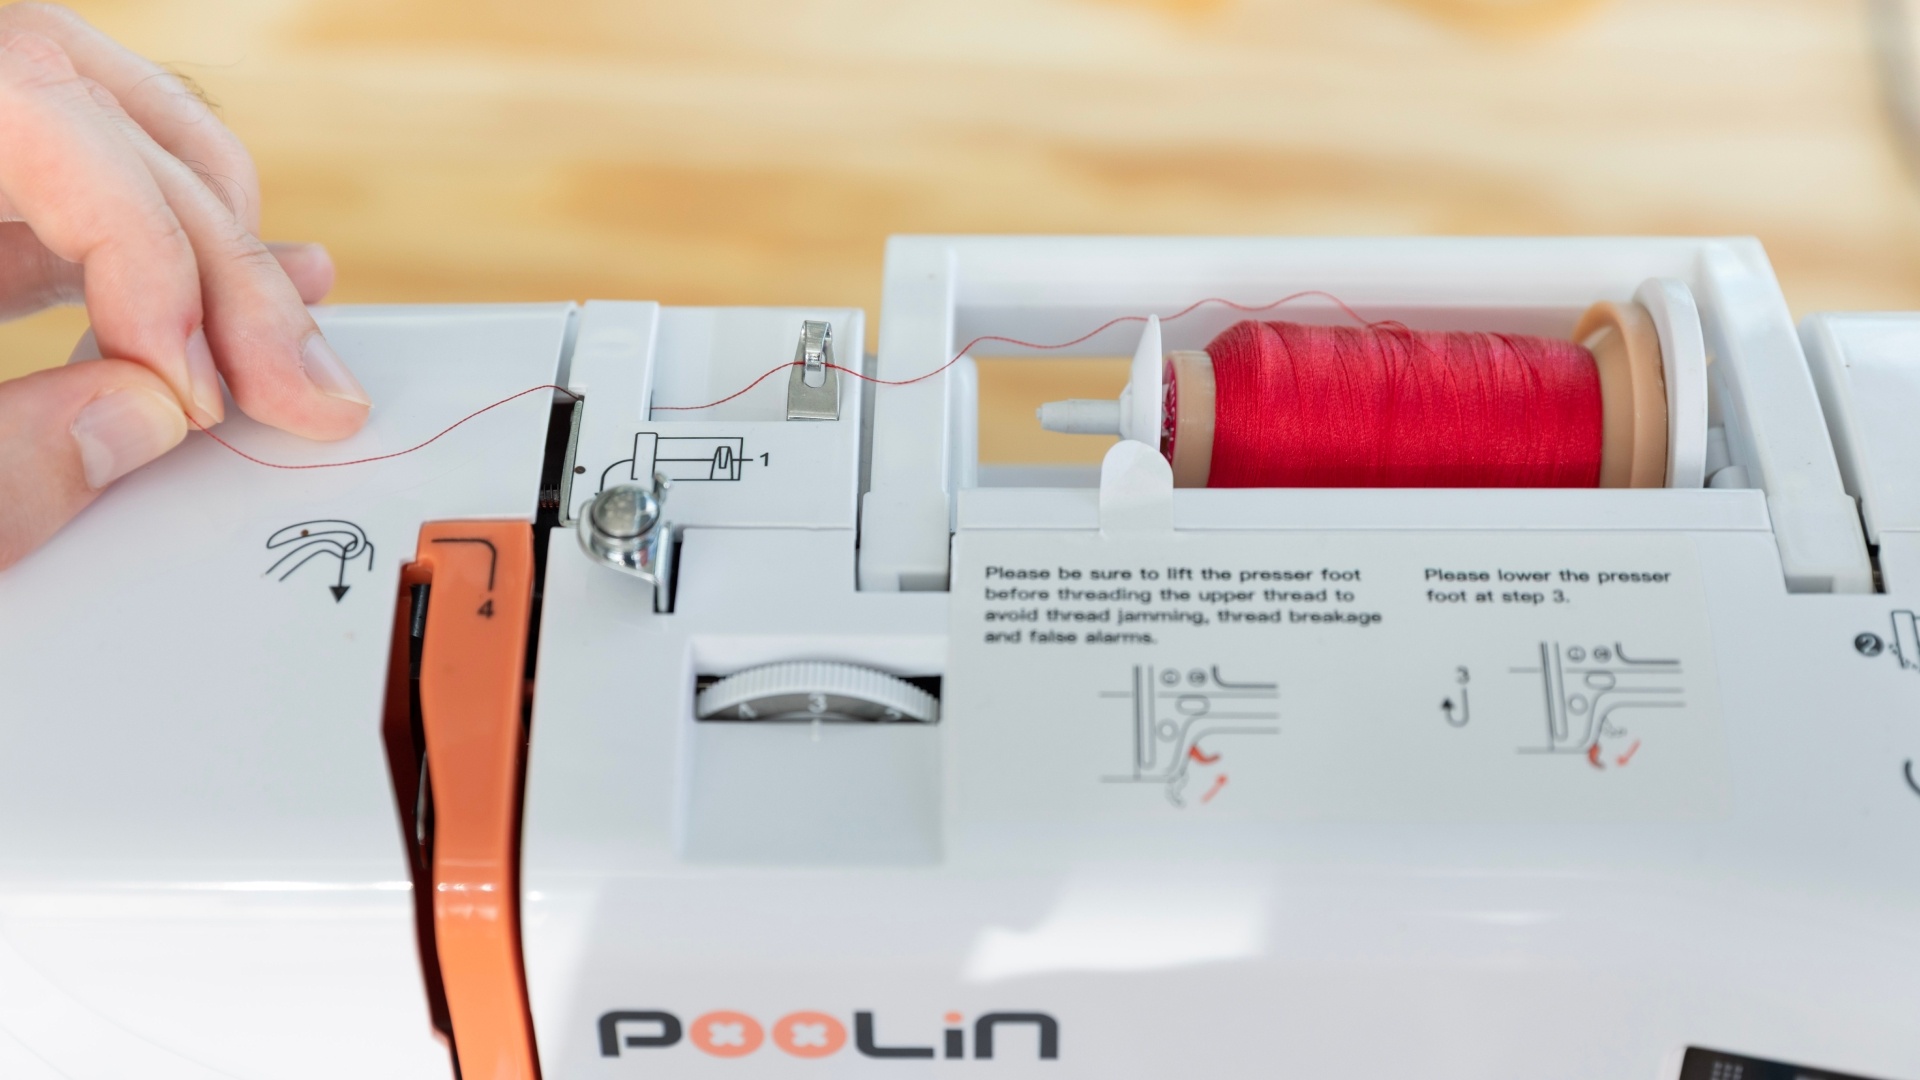
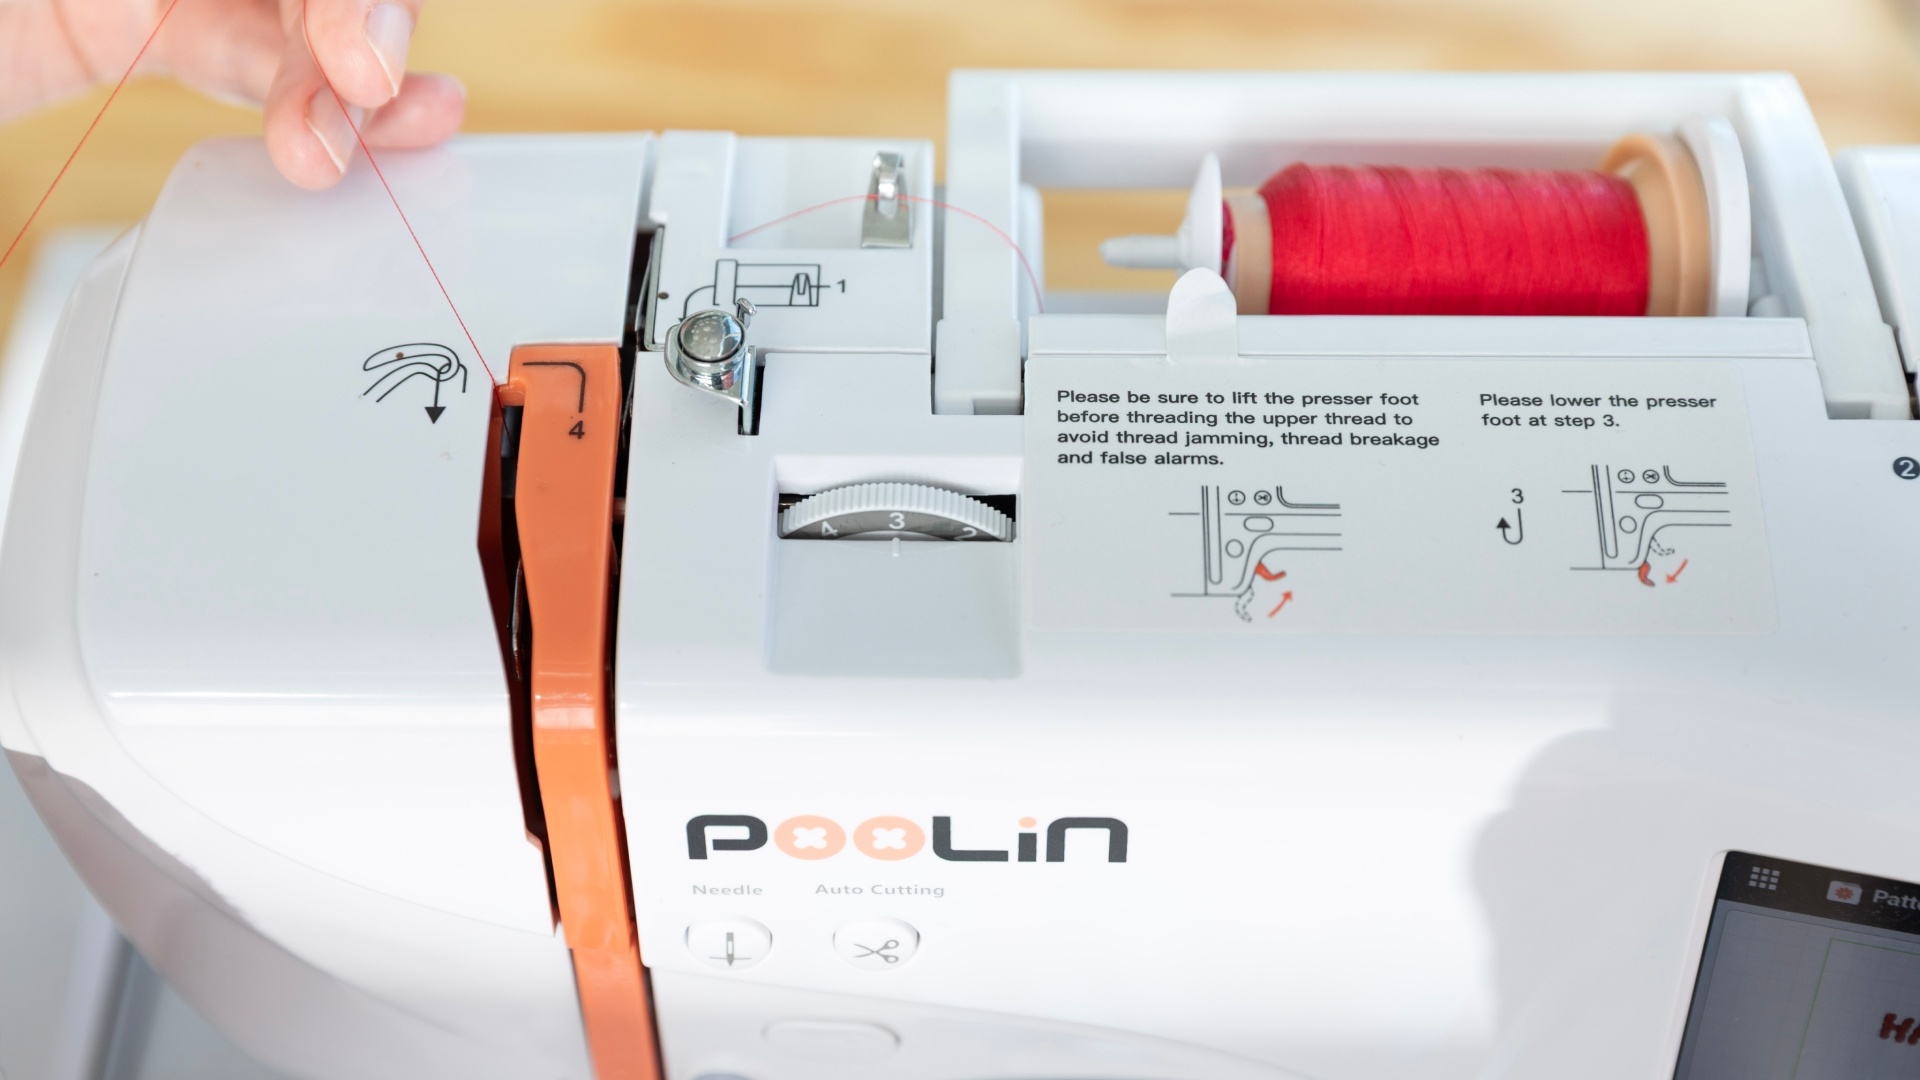
PooLin sewing and embroidery machines have the correct thread path marked on them. This makes it easy to thread the machine by following the arrows.
Correctly following the thread path is essential, because missing even one guide can result in uneven thread tension, thread looping, thread breaks, or poor stitch quality. Take your time and make sure the thread passes through every guide shown on your machine.
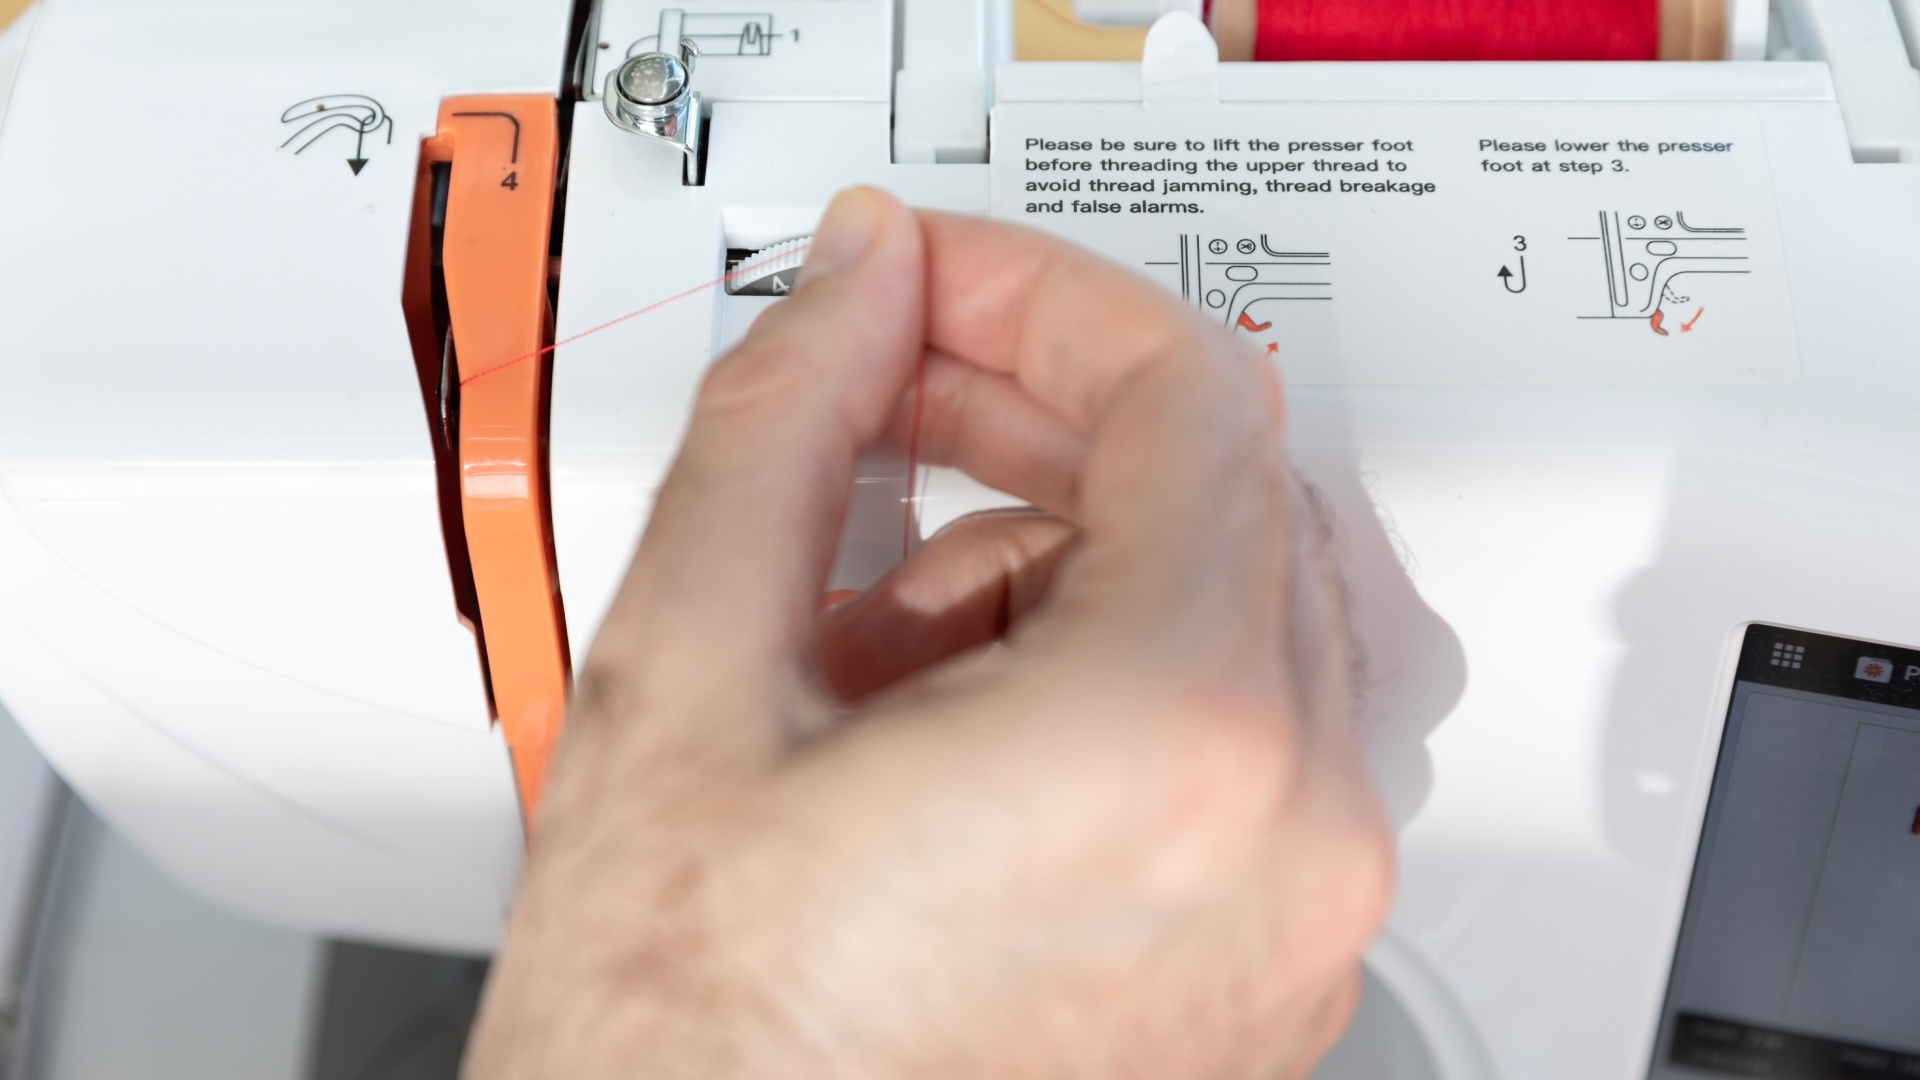
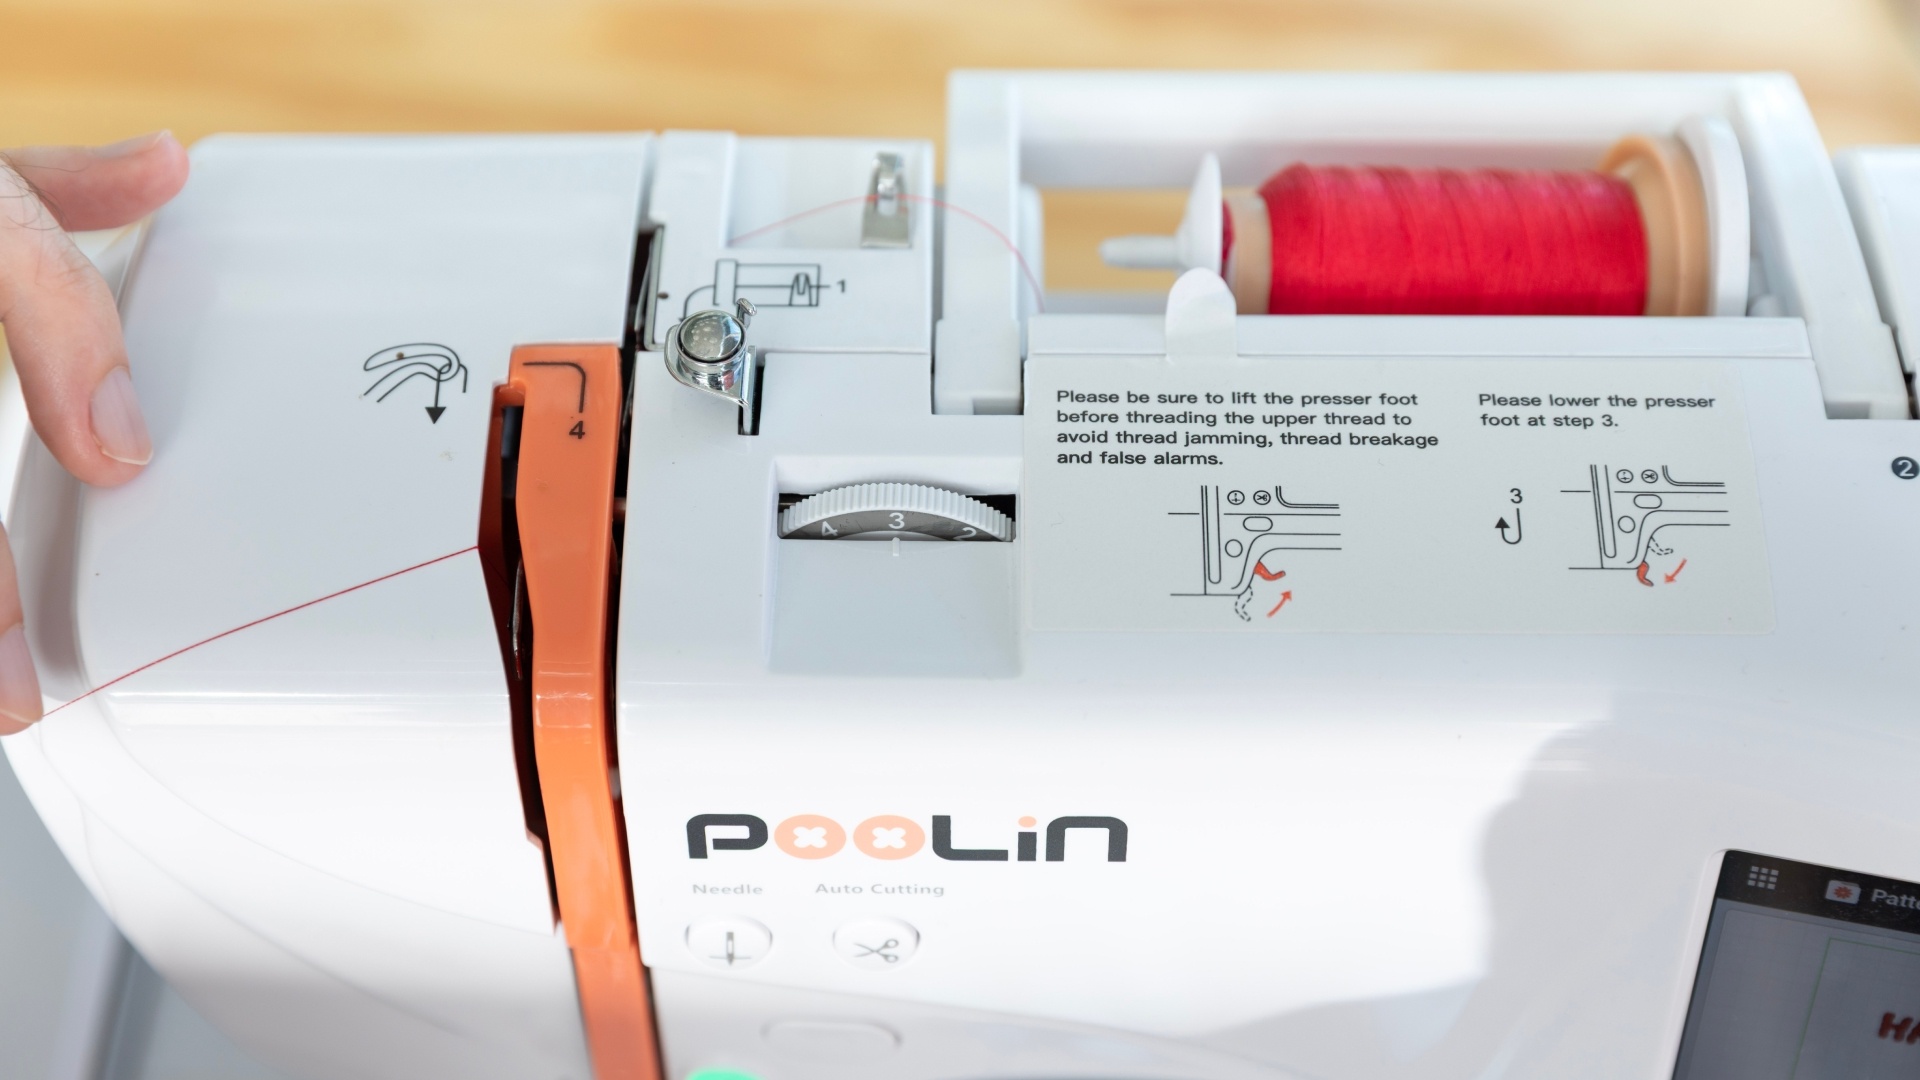
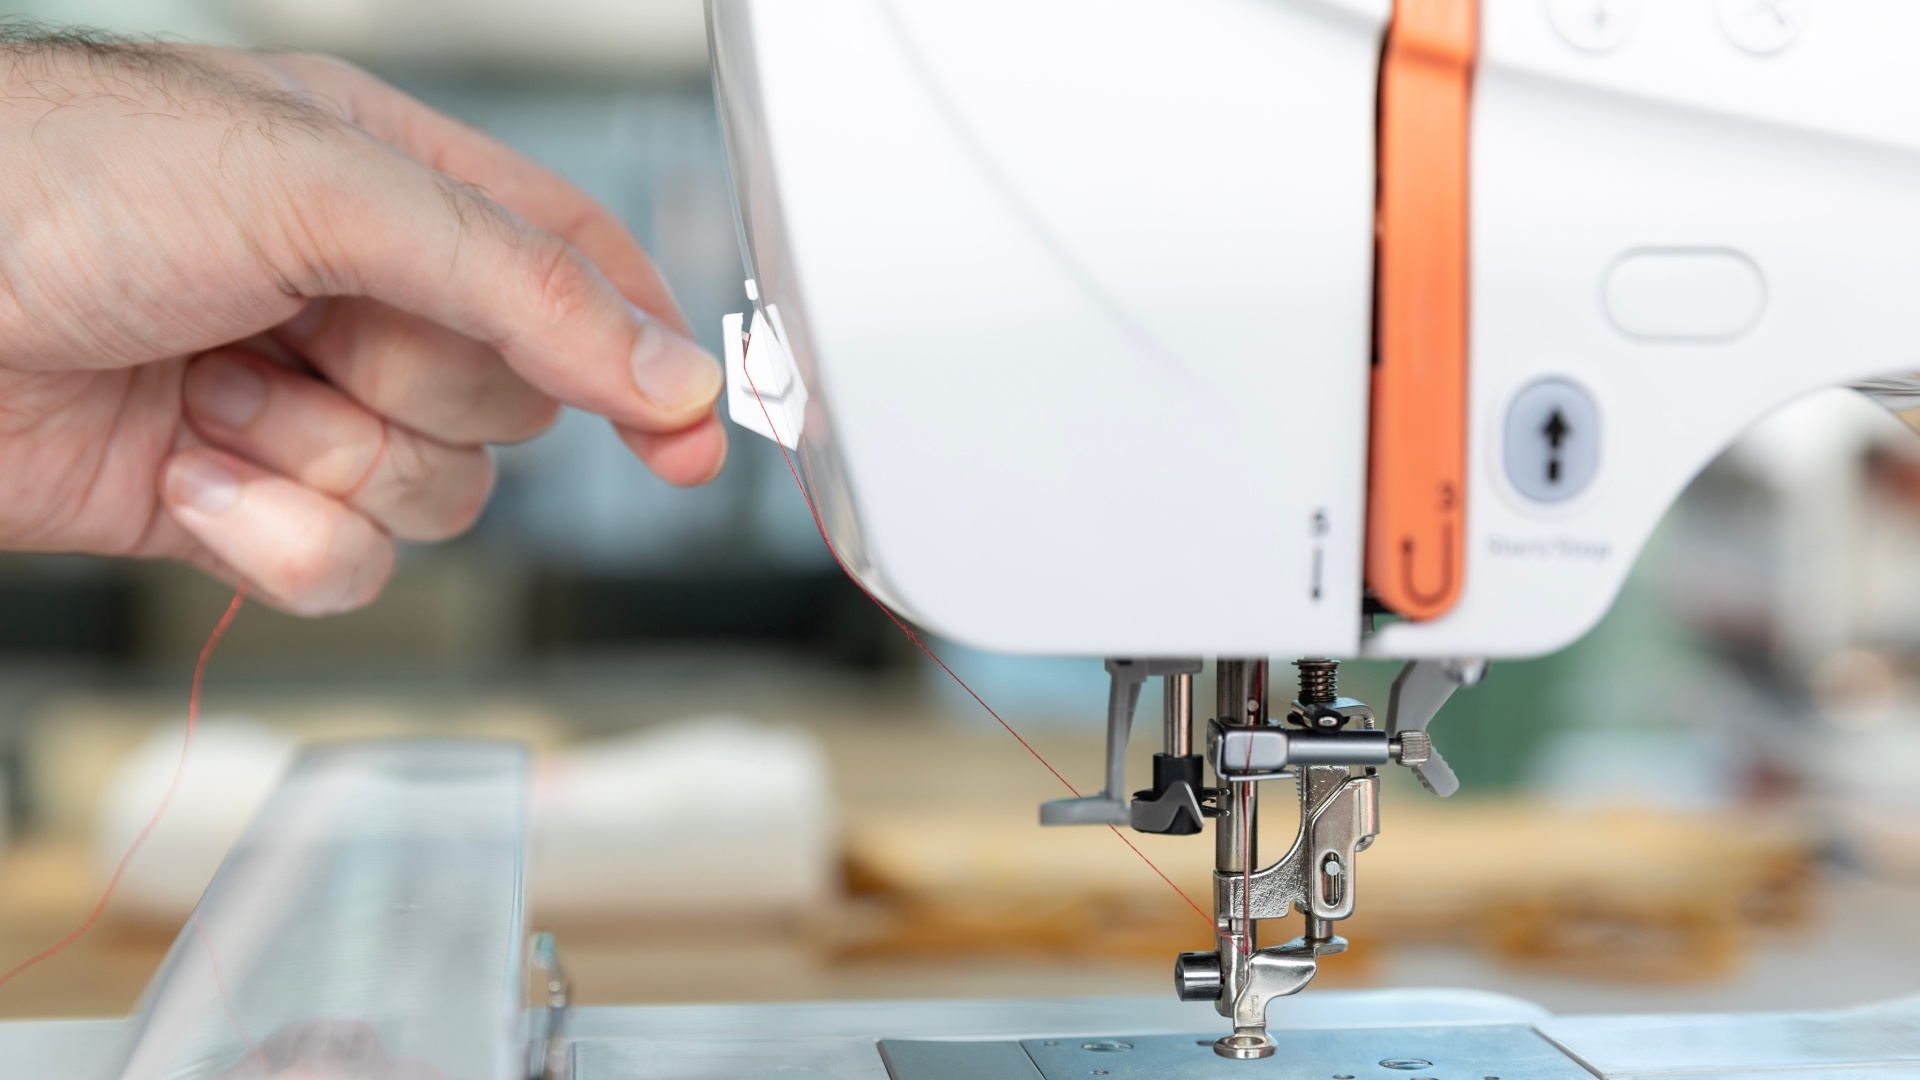
After pulling the thread from the spool and through the first hook at the top of the machine, go past the white plastic cover and pull the thread down. Ensure it sits between the two metal tension discs. If the thread sits beside the discs instead of between them, the machine cannot apply the correct tension.
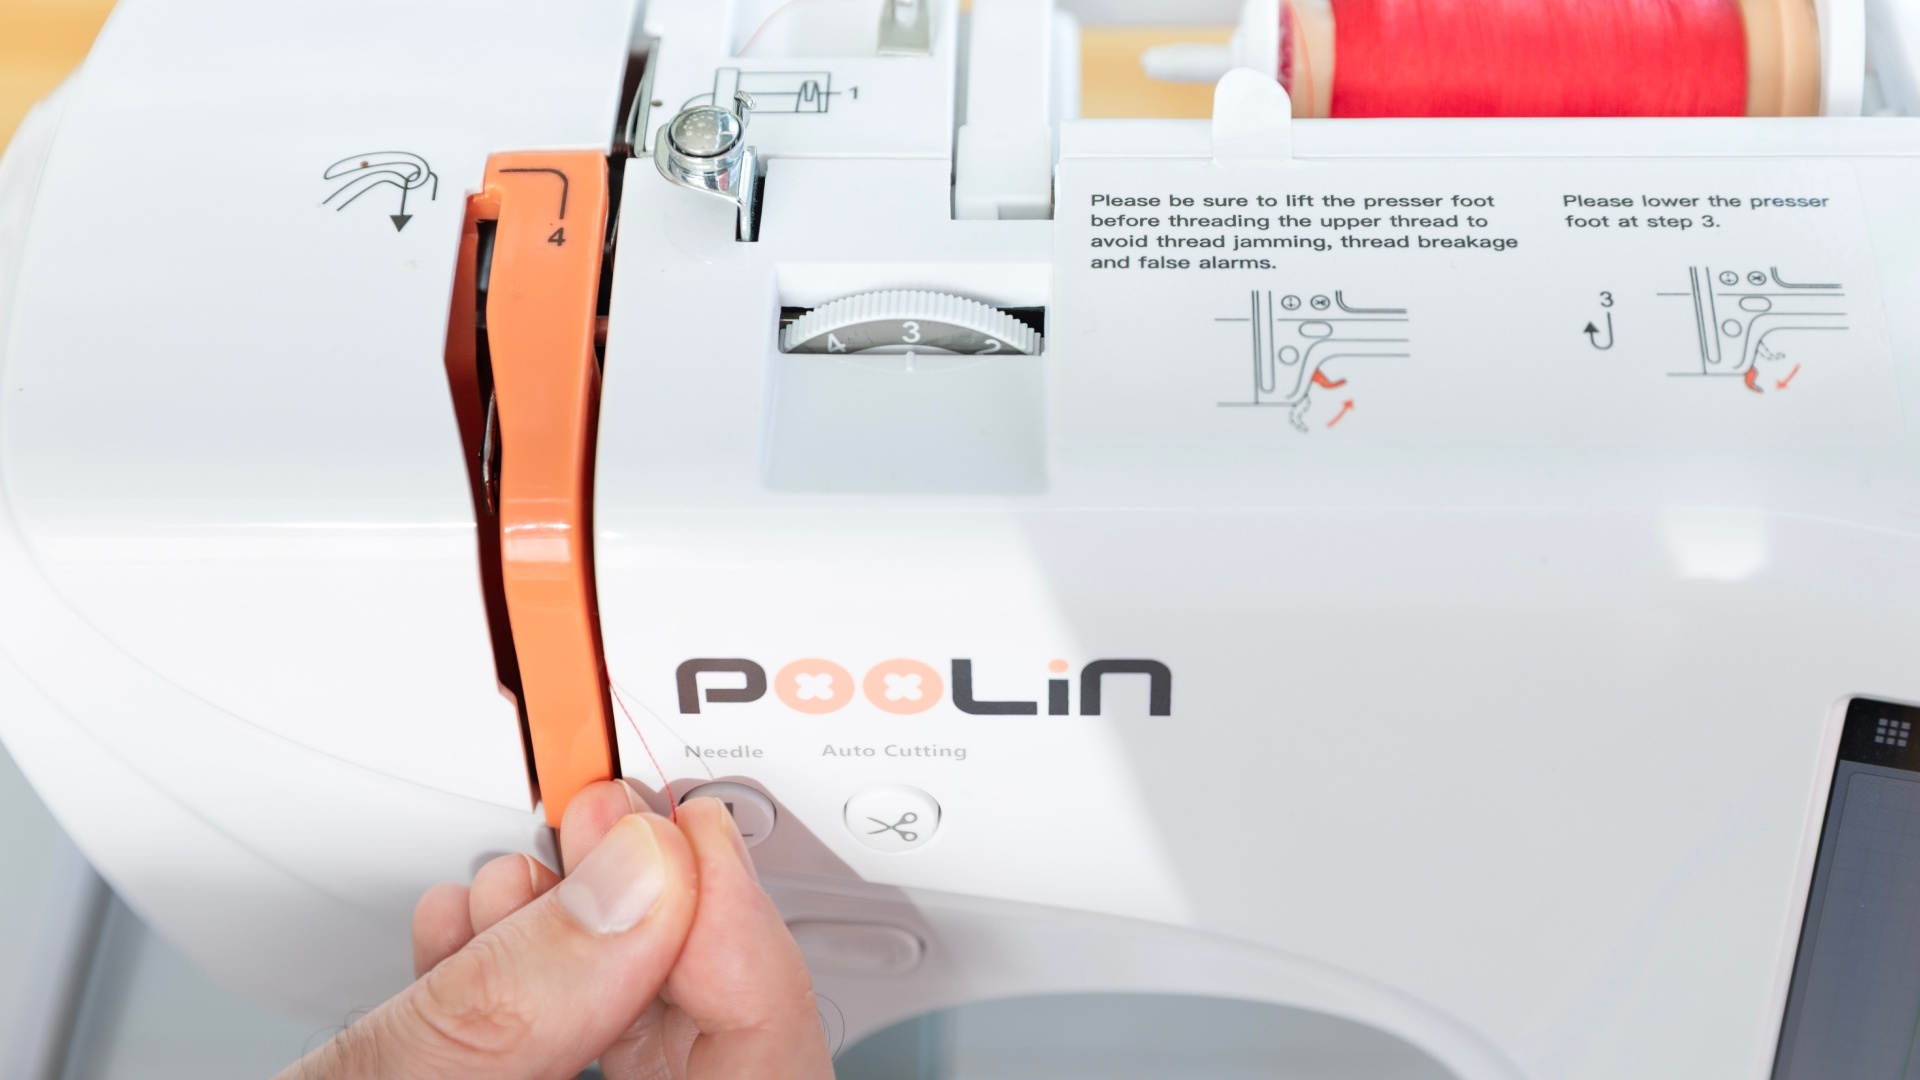
Now continue following the threading path shown on the machine. Pull the thread down along the right side of the orange guide and then pull it back upwards along the left side of the guide.
Once the thread is seated properly, you can lower the presser foot again.
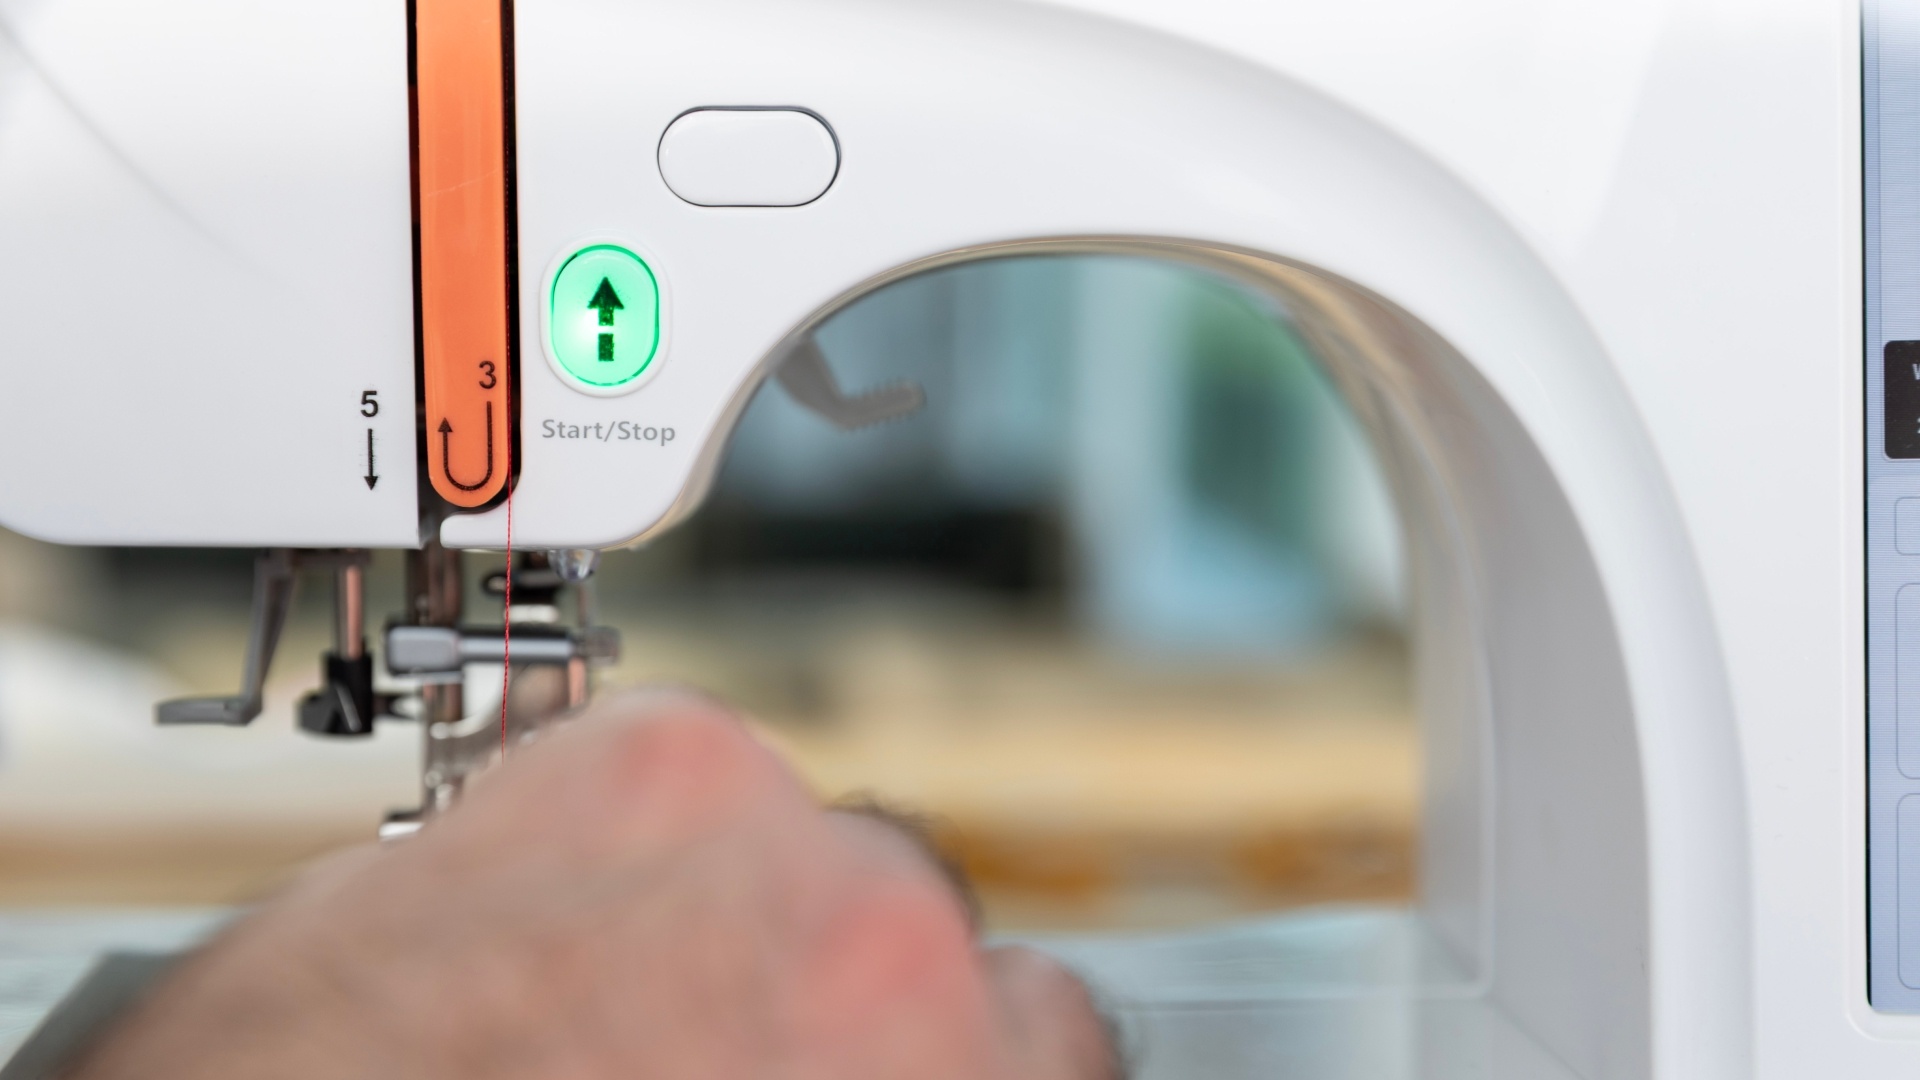
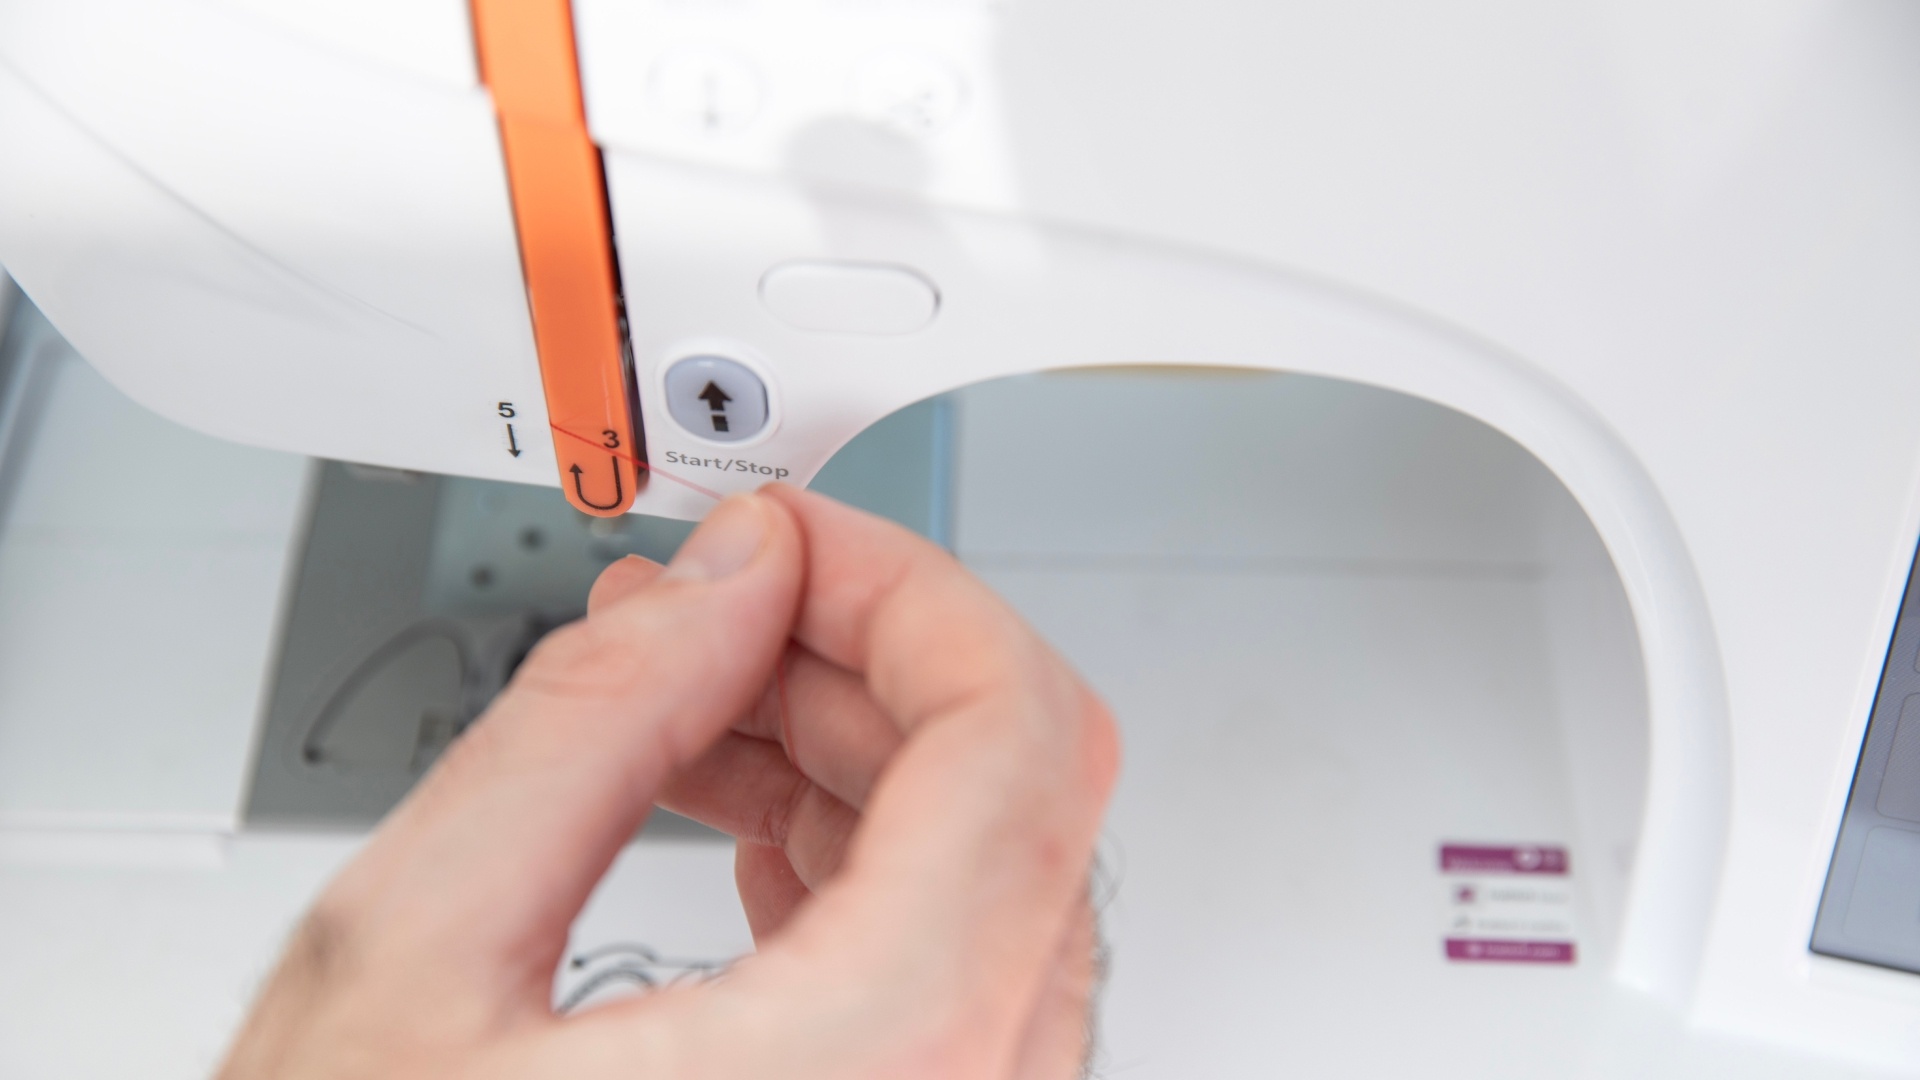
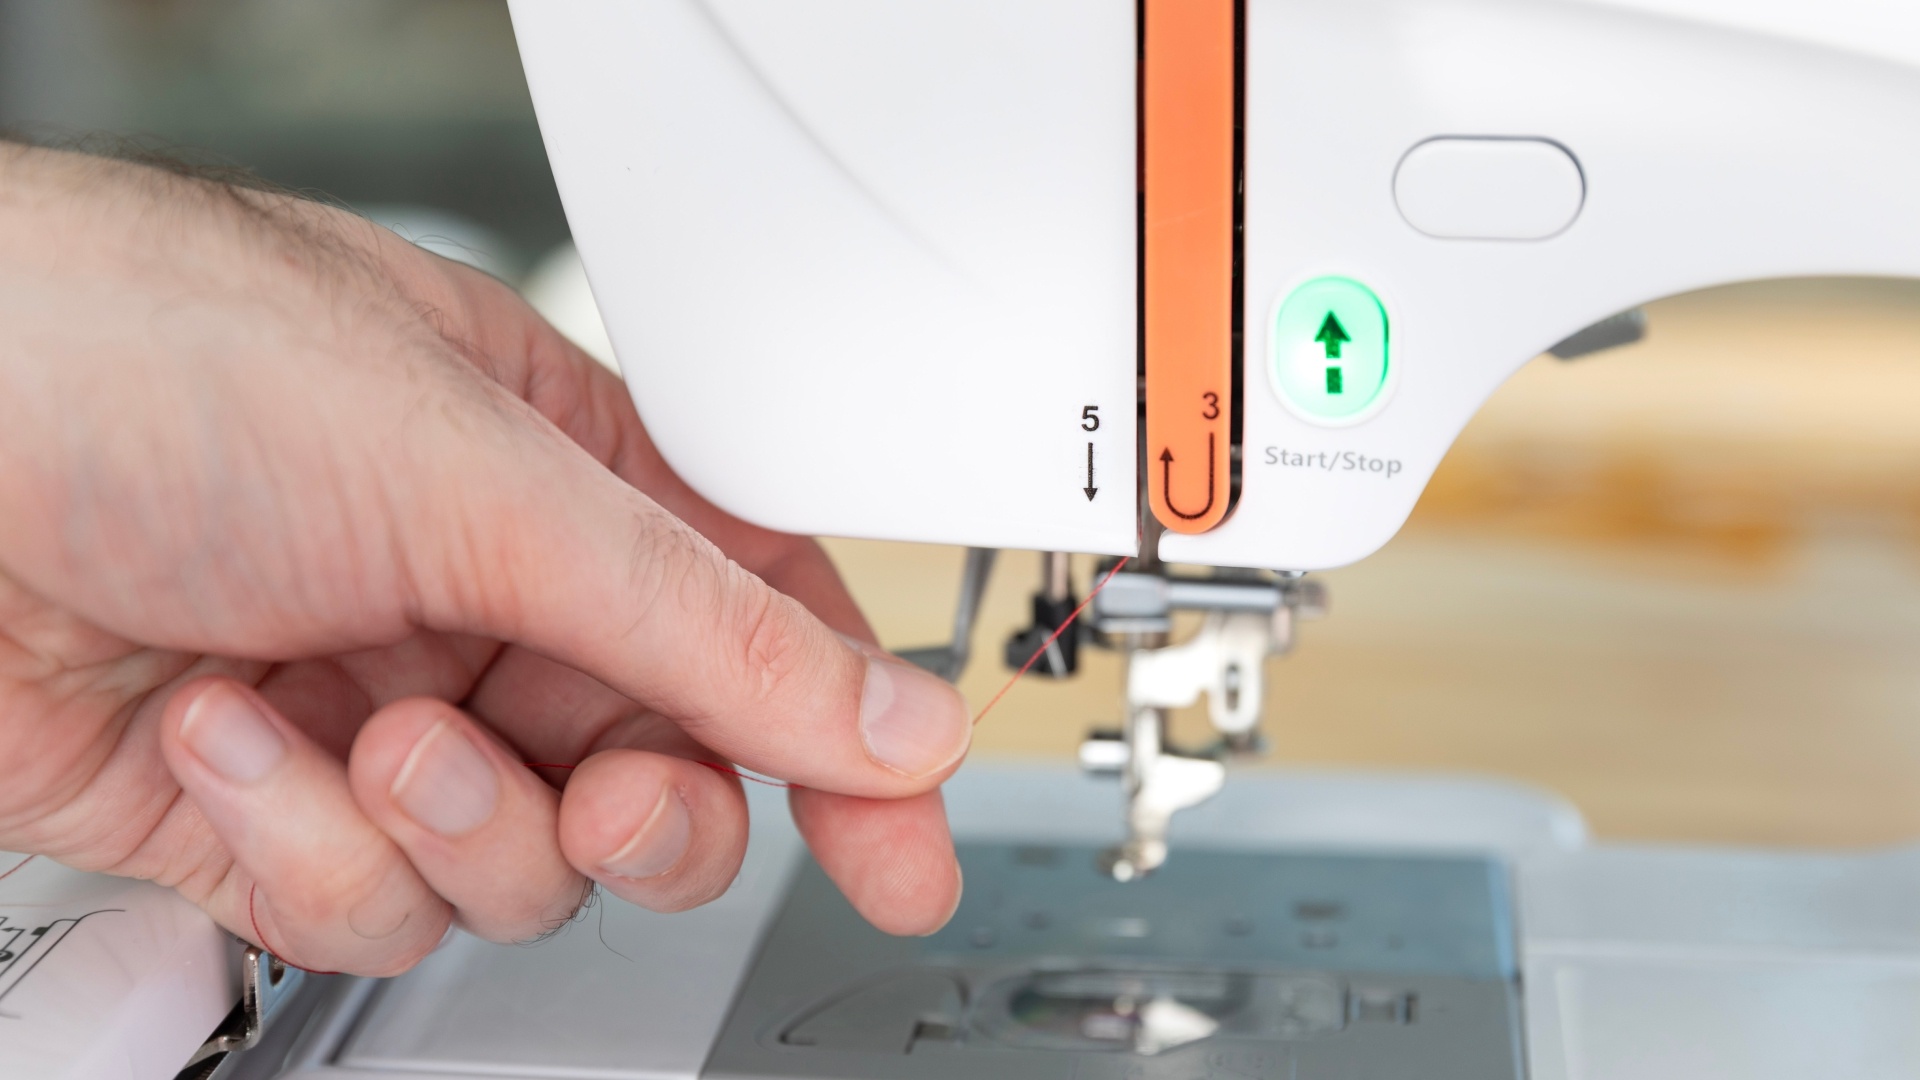
At the top of the orange guide, you will need to make a U-turn from right to left. This lets your thread pass through the take-up lever, which helps maintain the right tension. Tip: if you find it hard to catch the lever, try dragging your thread along the outside edge of the slit. By dragging your thread up along the left side of the orange guide and then following the outside of the curve at the top of the machine, your thread should get caught by the lever.
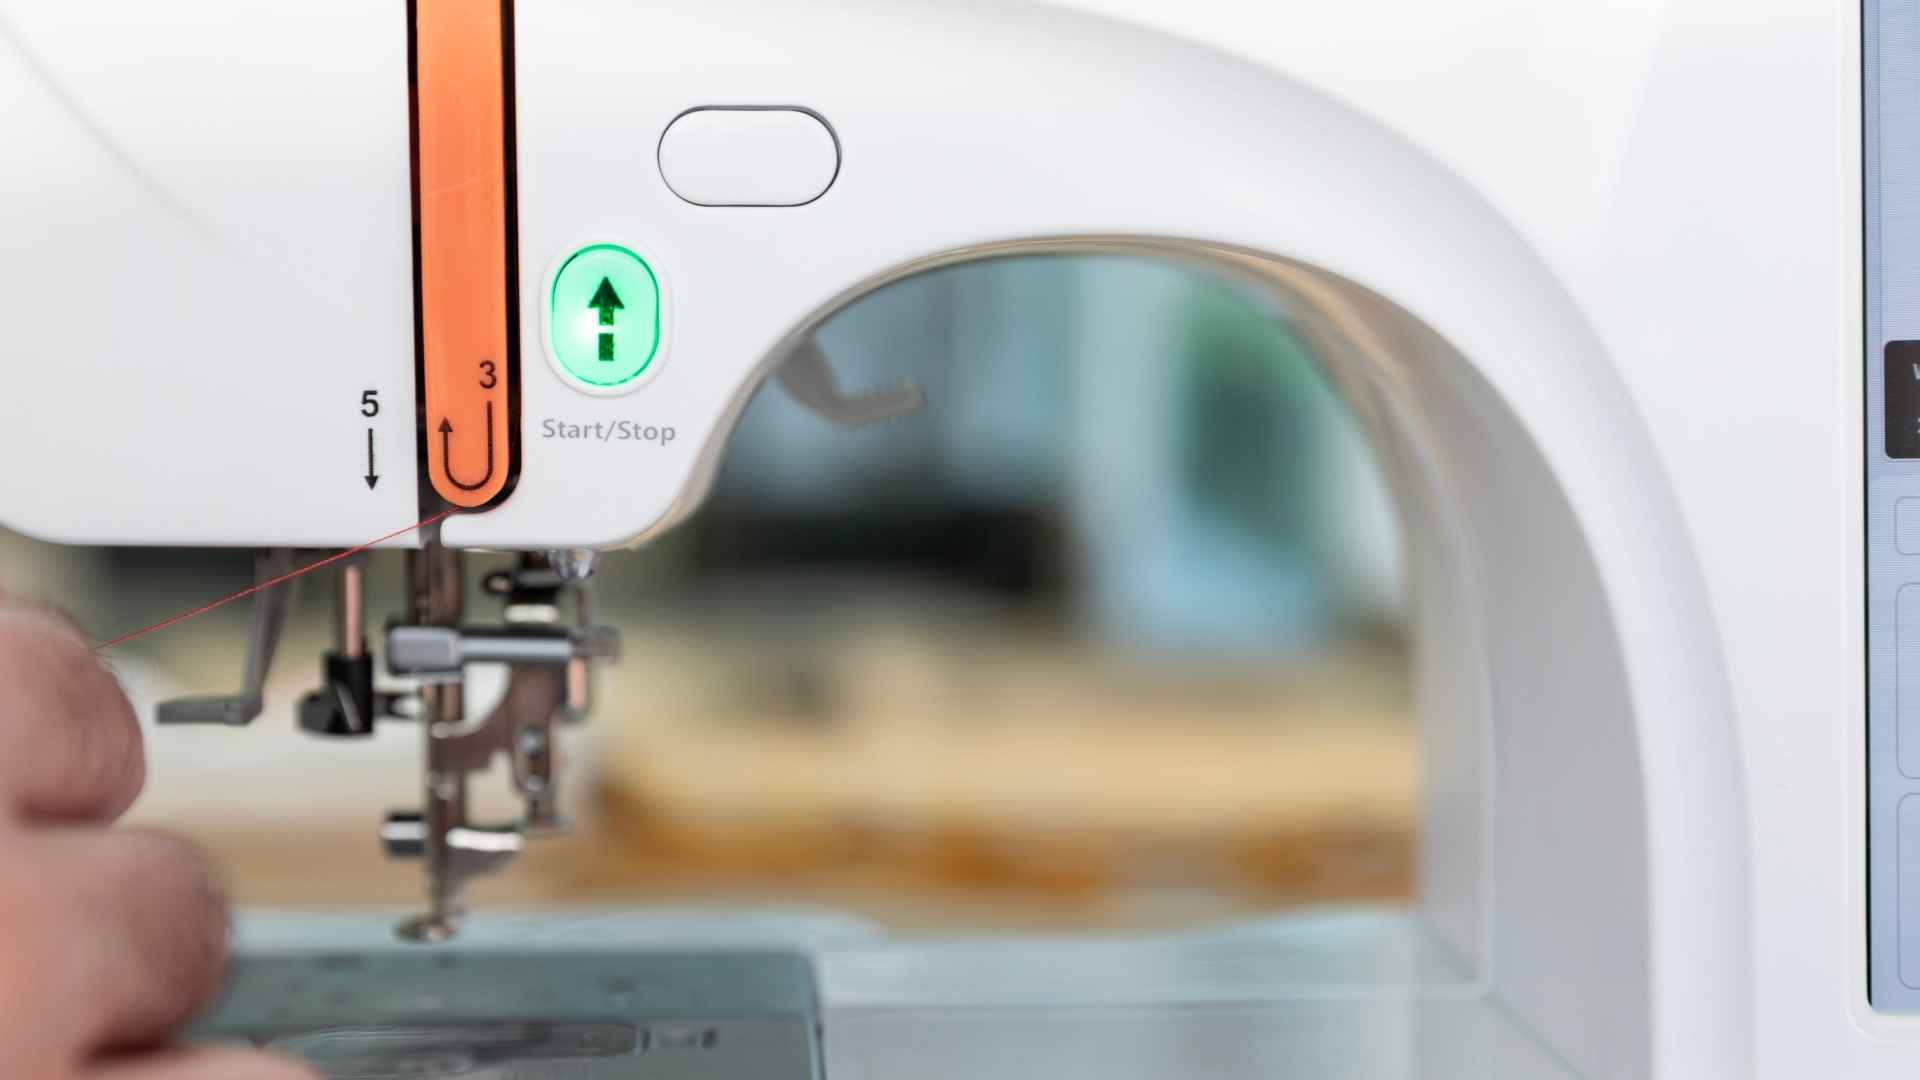
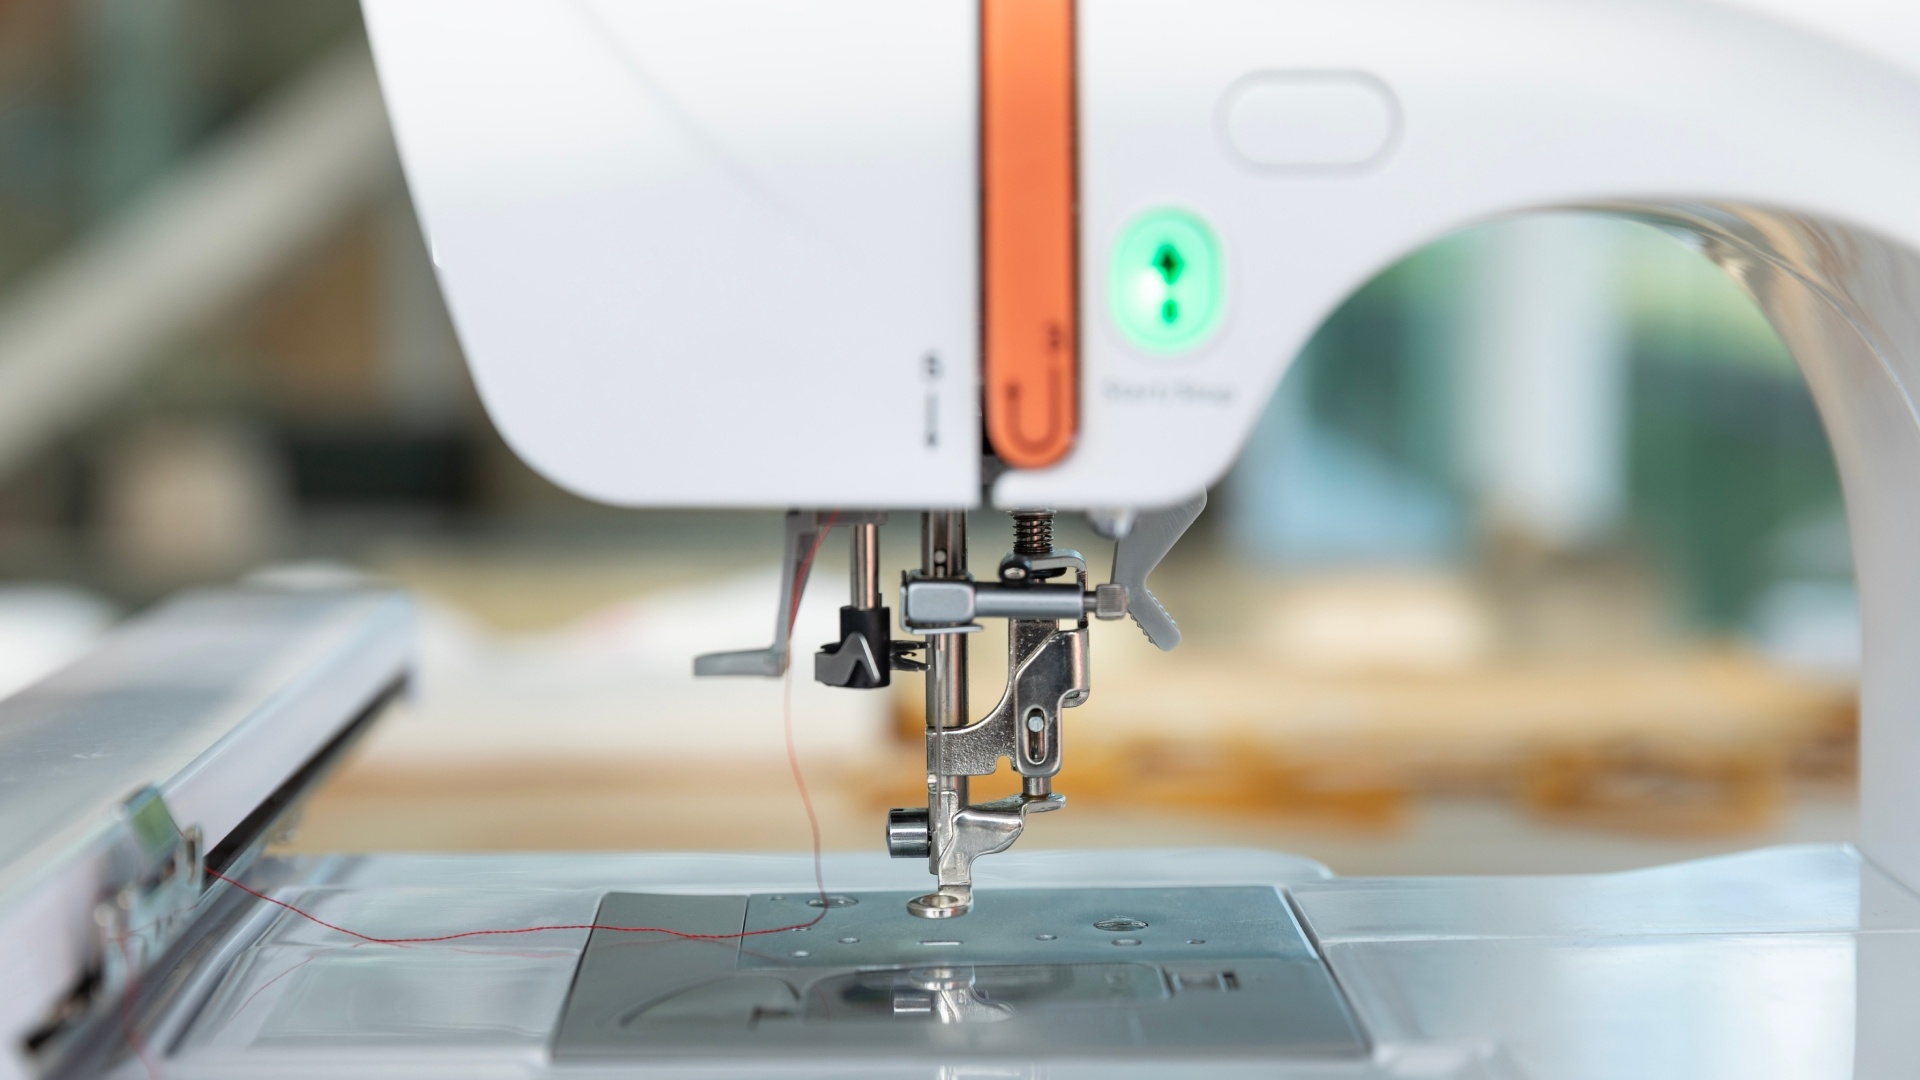
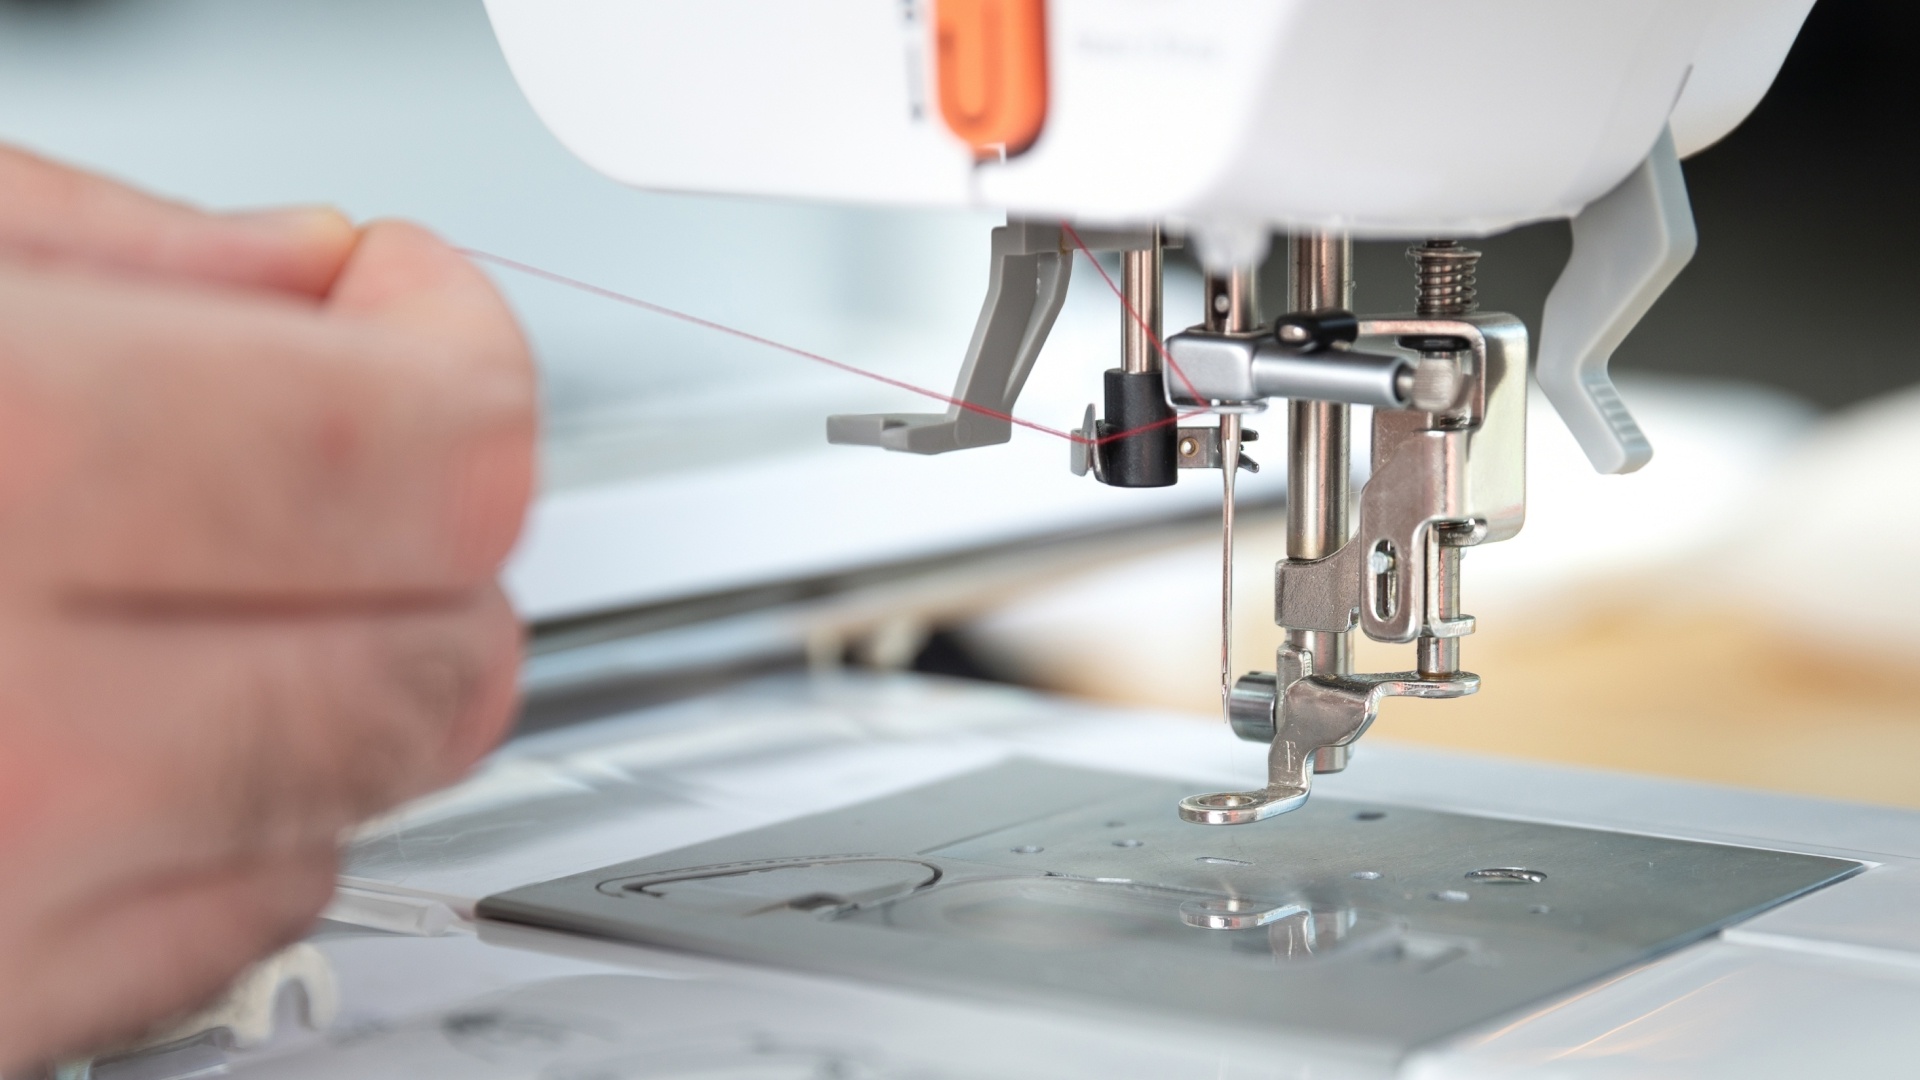
Once you have completed this step, you can continue pulling the thread down towards the needle.
Check your threading
Before threading the needle, perform a quick inspection to make sure that:
the thread isn't caught anywhere
the thread sits between the tension discs
the take-up lever is threaded correctly
the thread moves freely when gently pulled
This quick check helps prevent many common embroidery problems before they happen.
Thread the needle
The PooLin EOC03 and EOC05 offer two methods for threading the needle.
Option 1: automatic needle threader
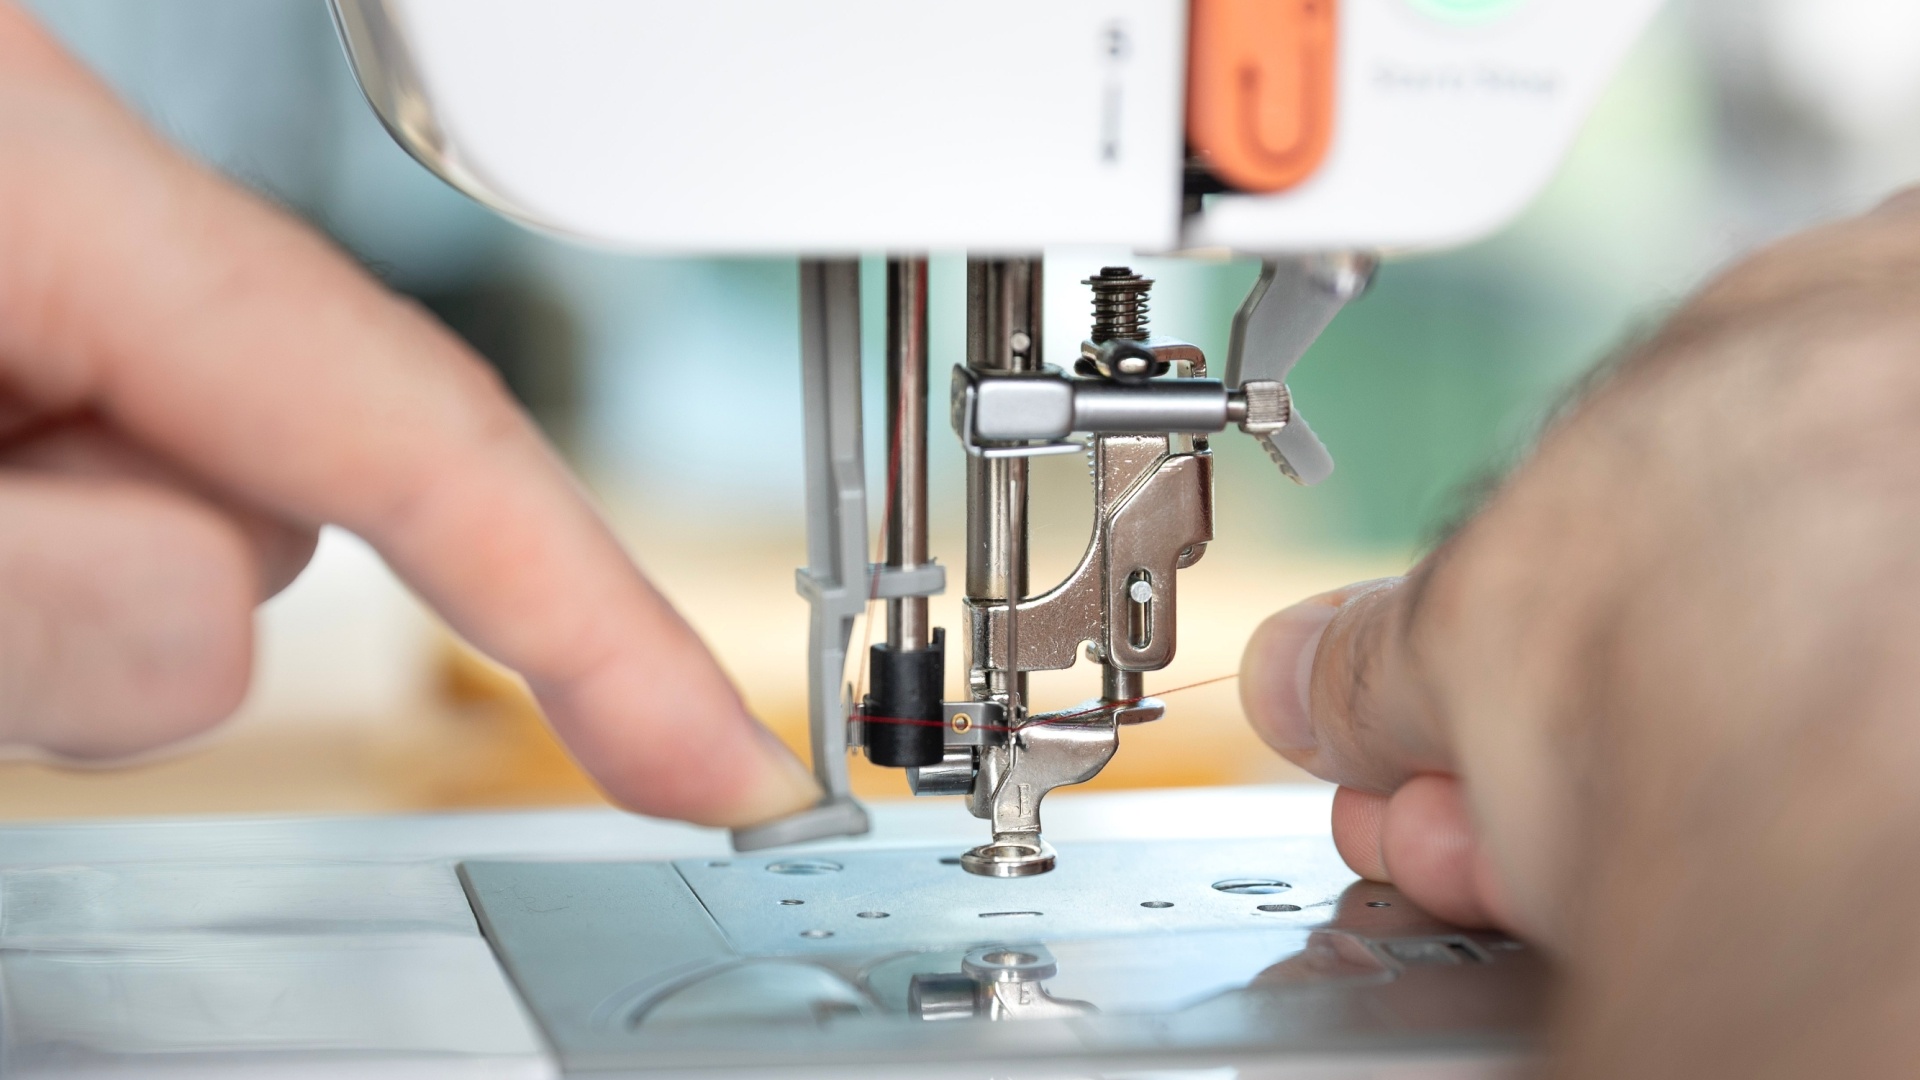
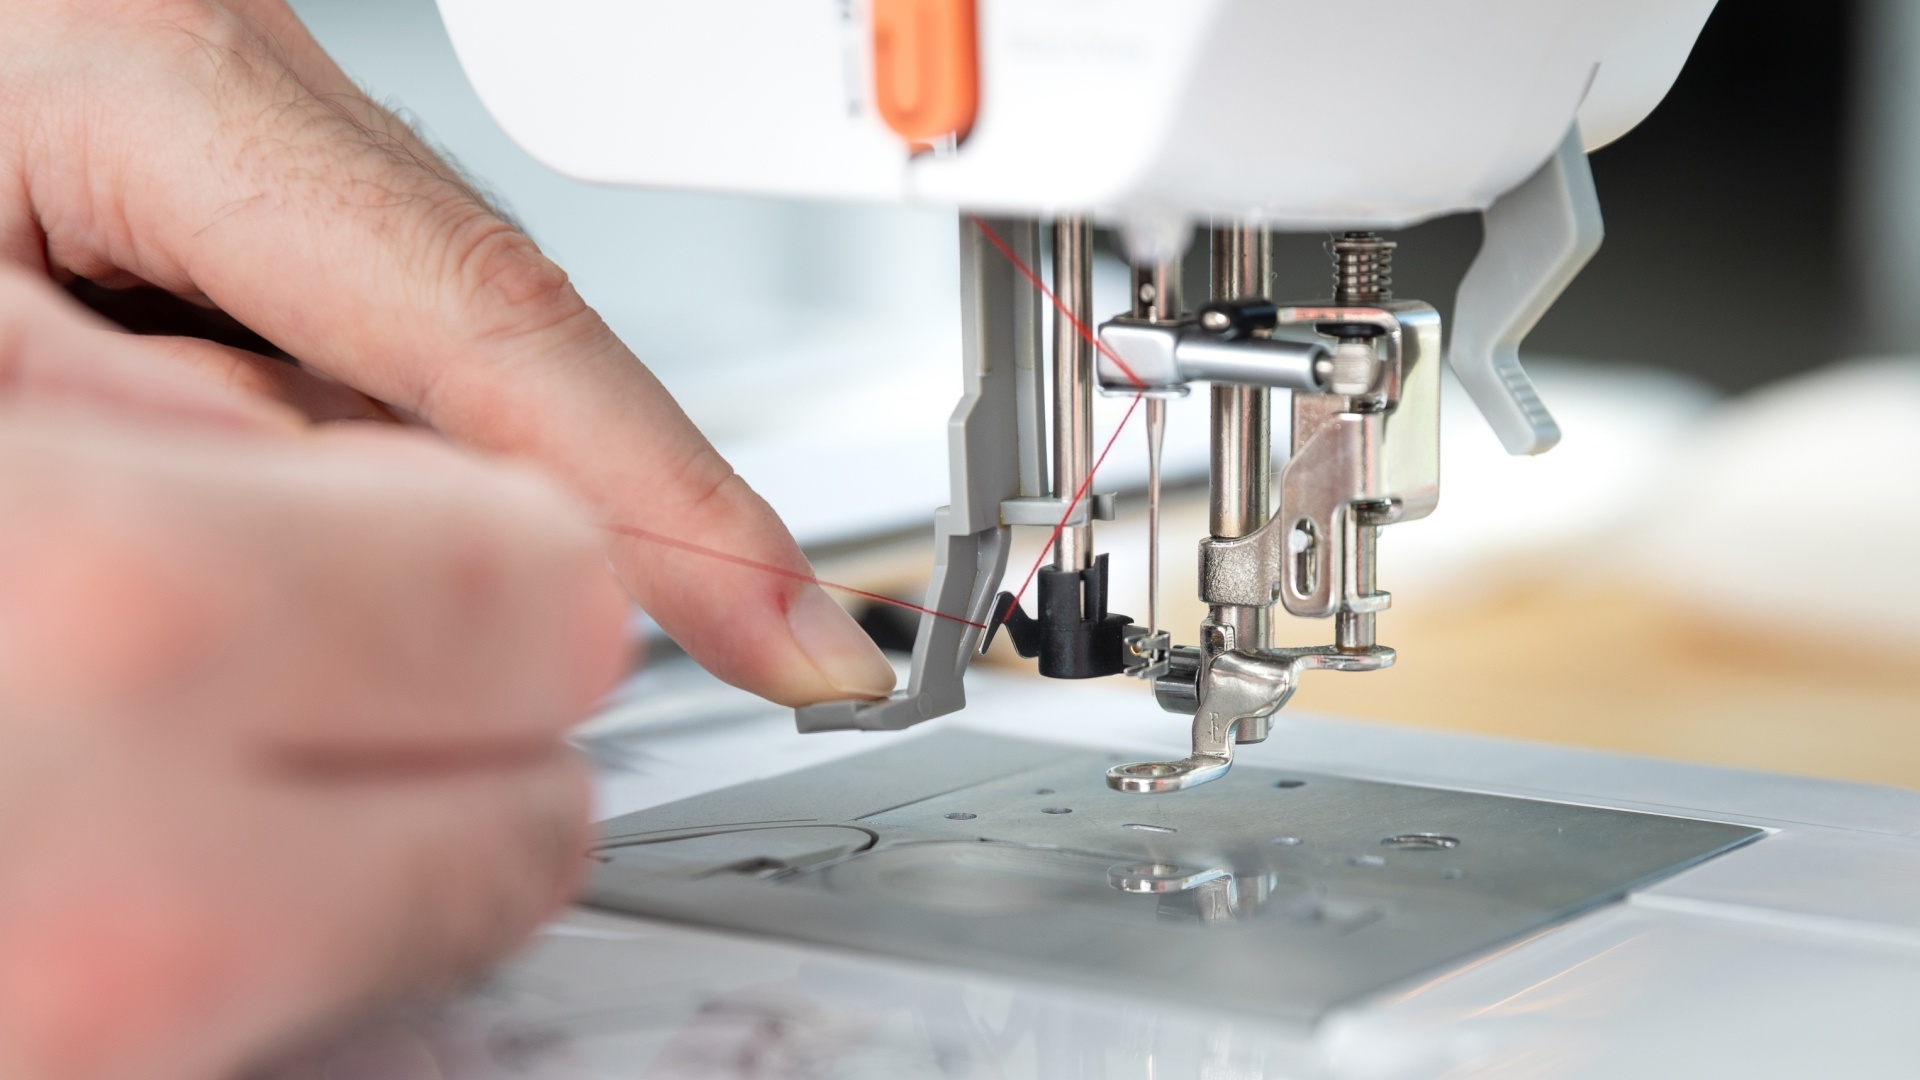
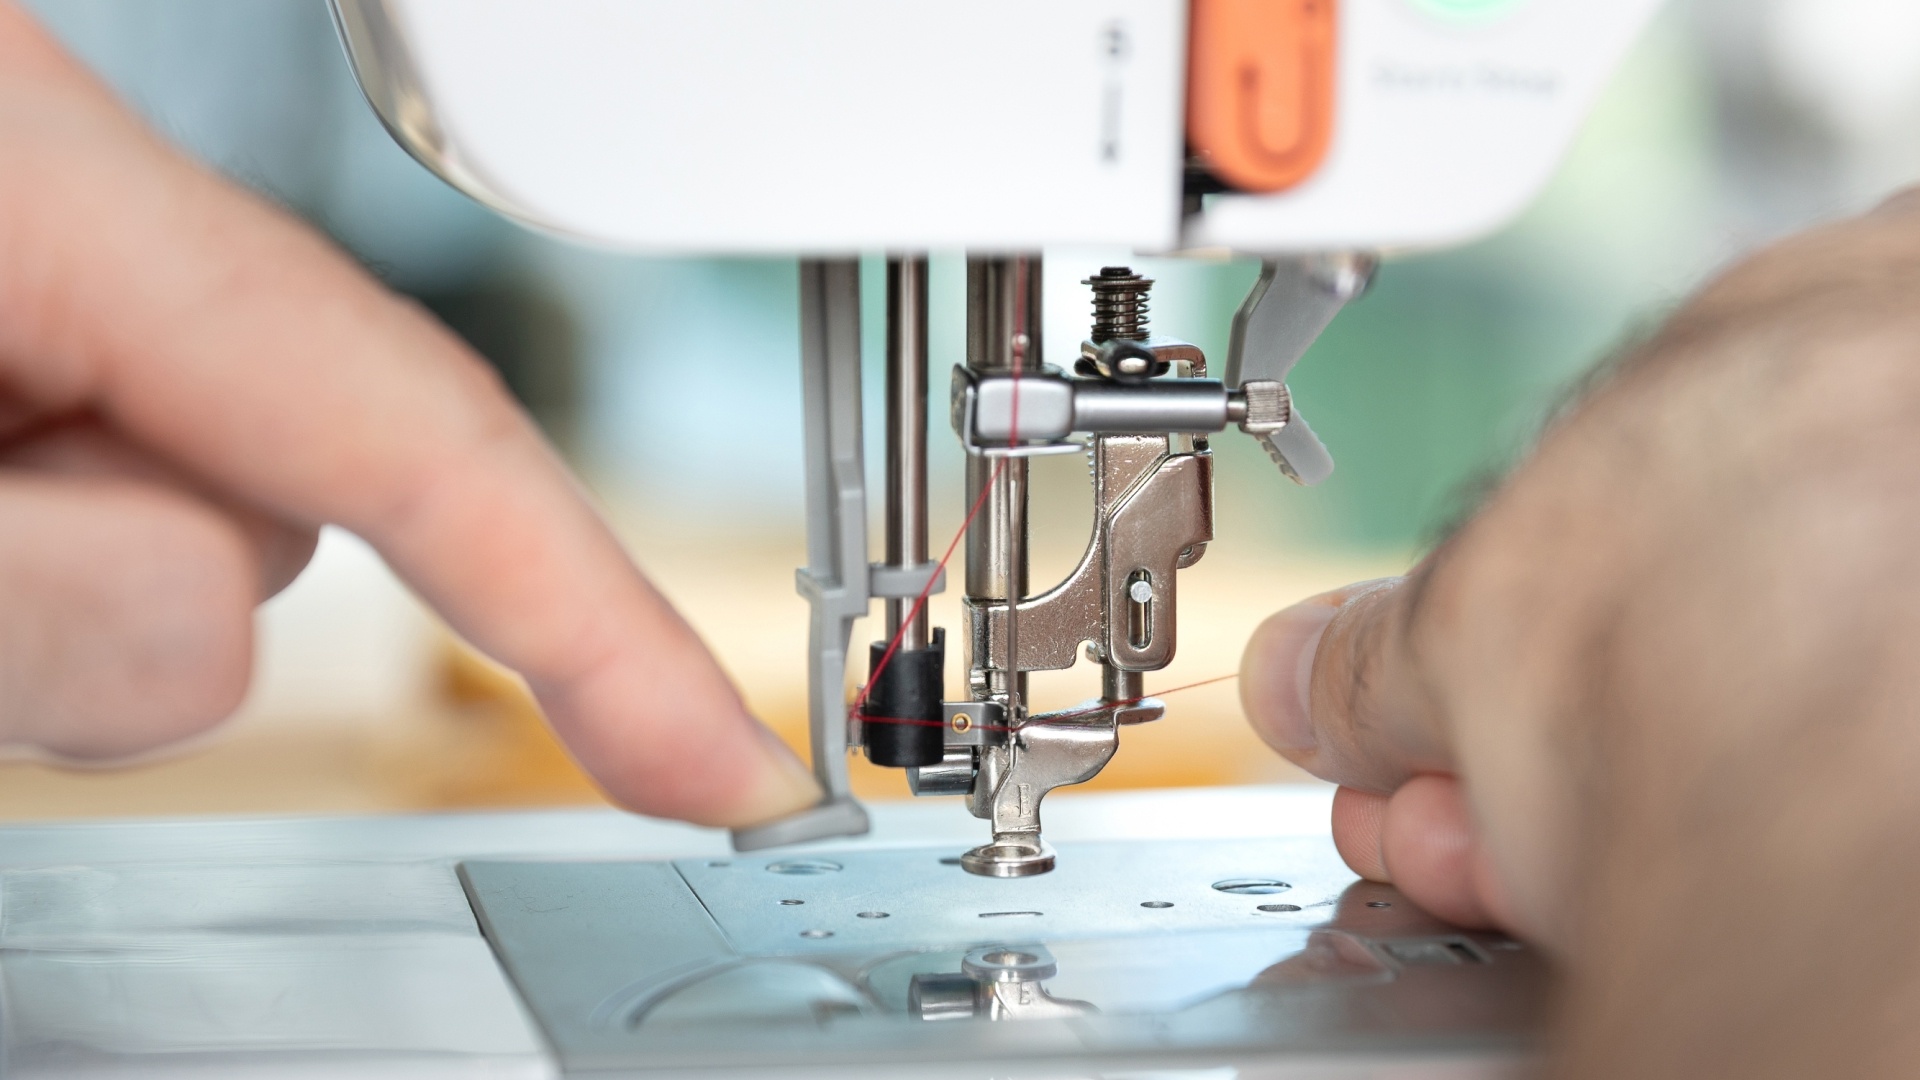
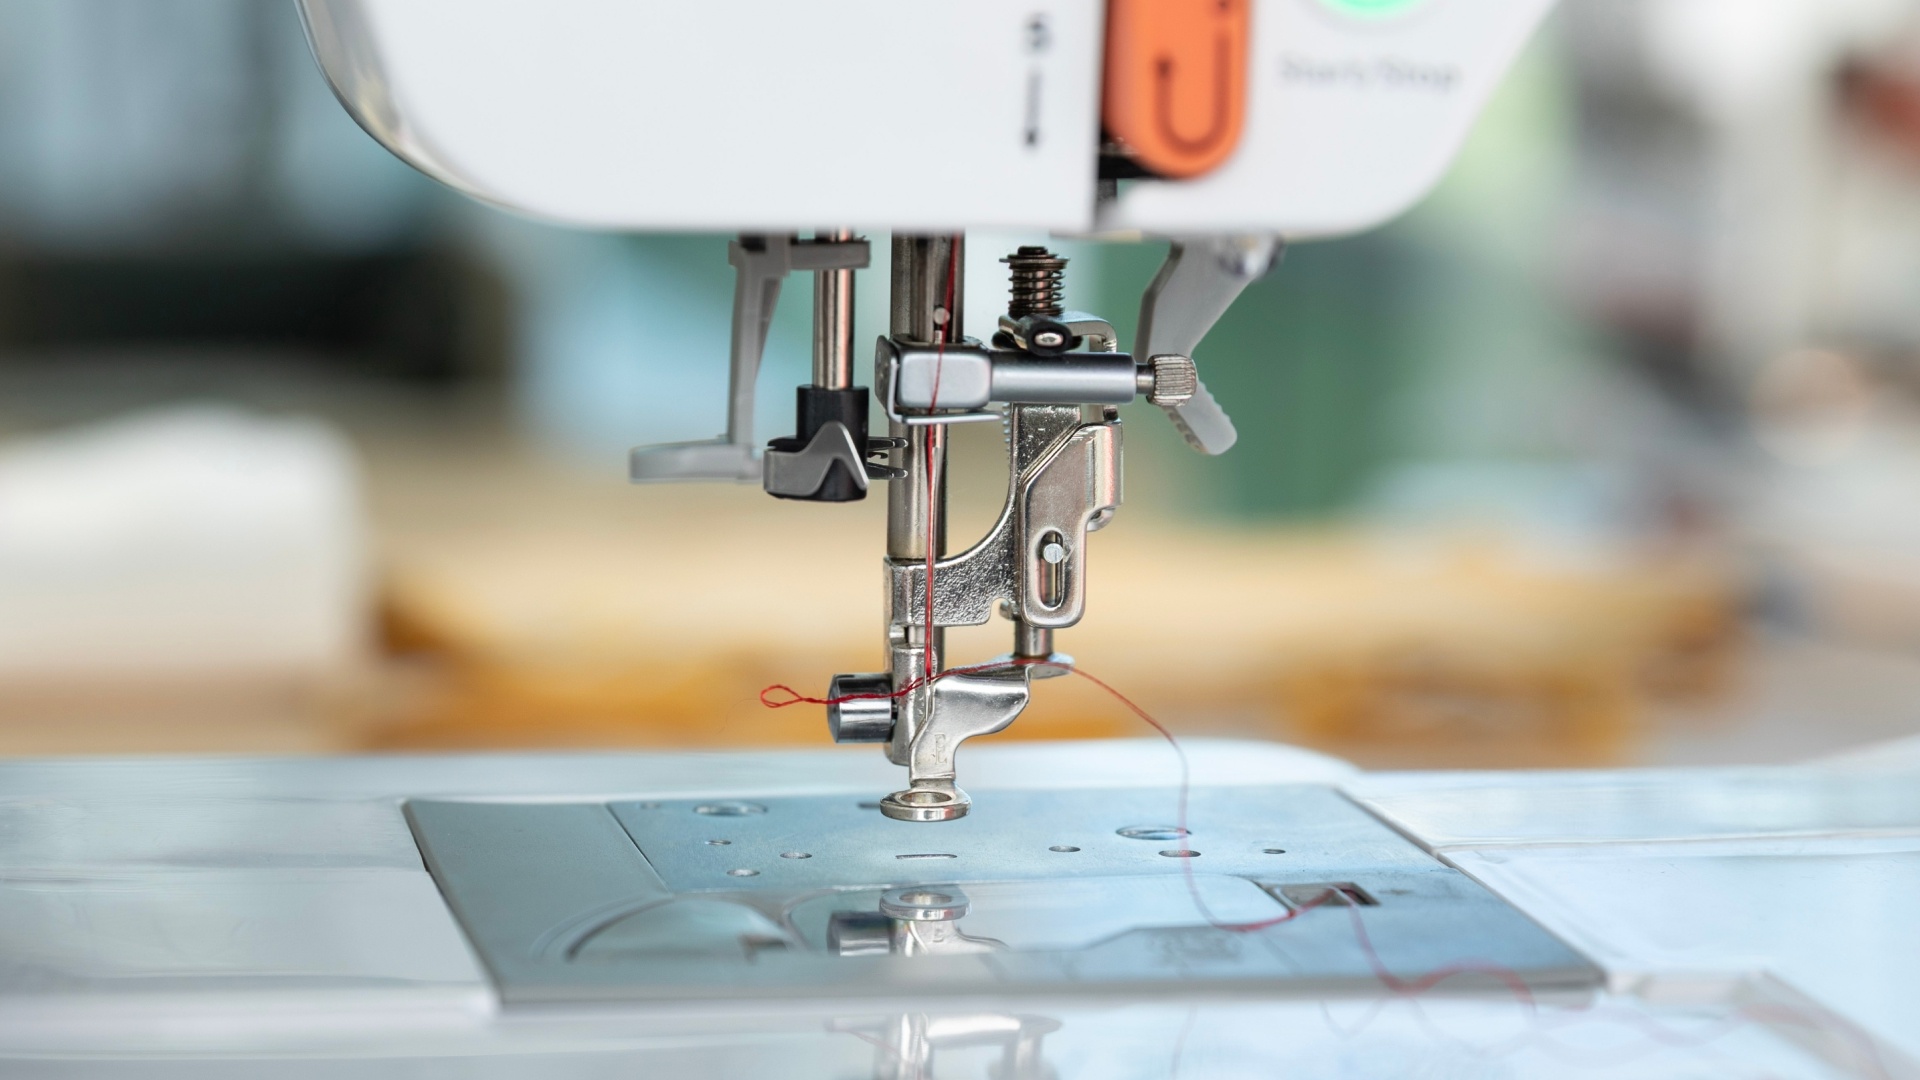
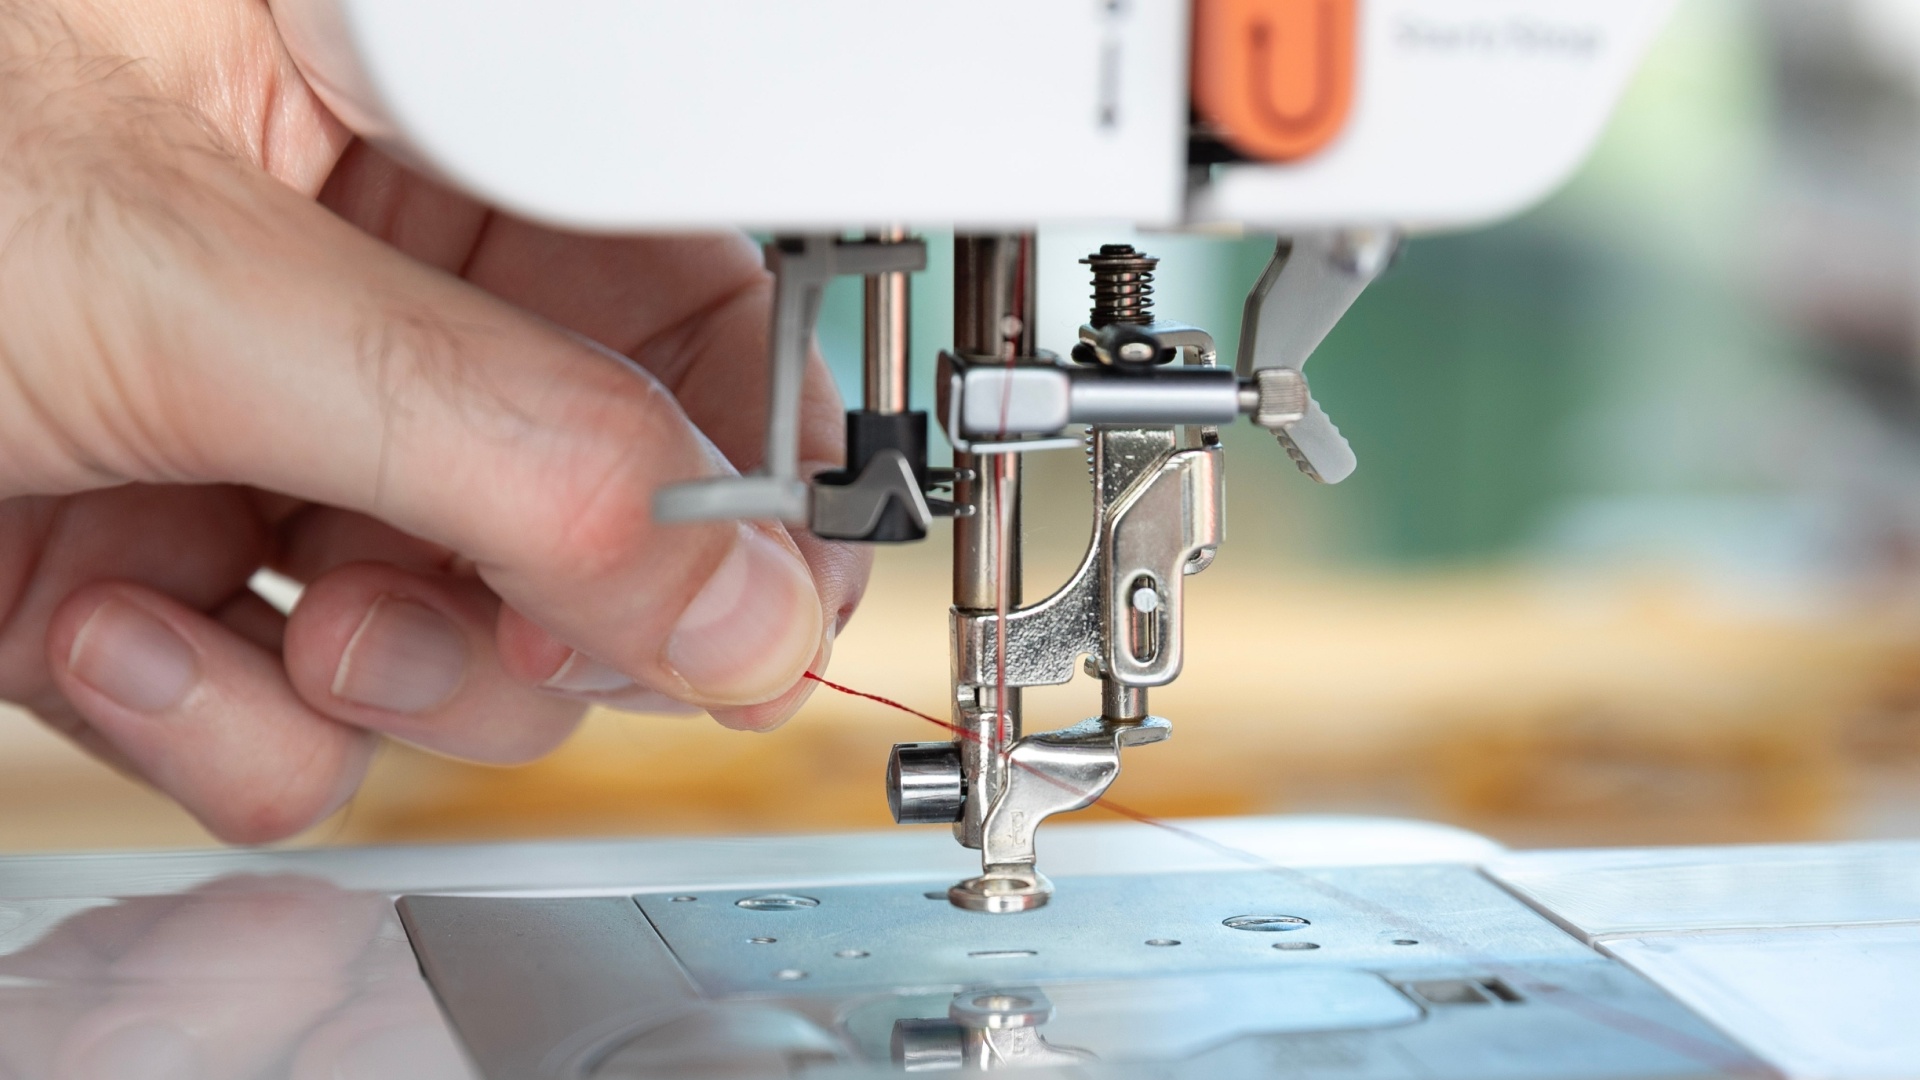
First, ensure the needle is in its highest position. If necessary, press the needle position button until the needle reaches the top. Make your thread catch the little hook on the left side of the foot.
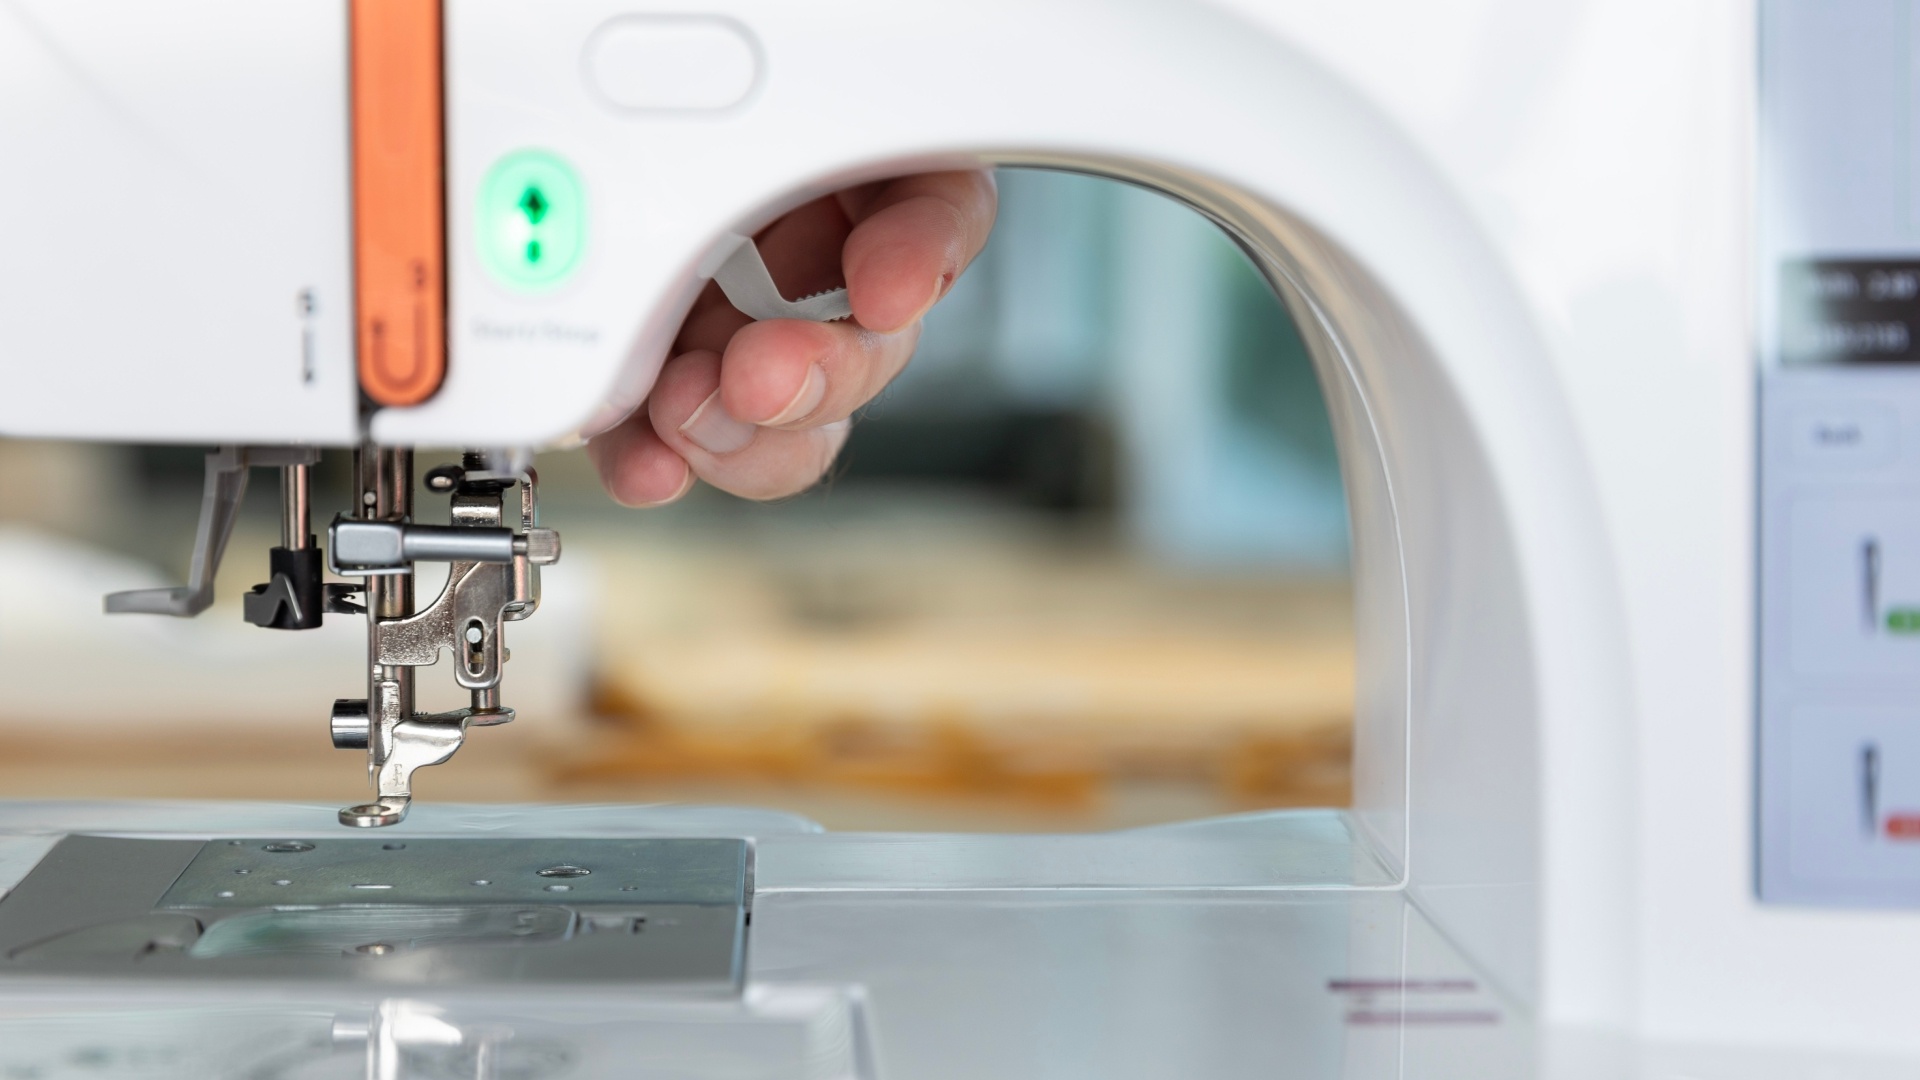
Then lower the automatic needle threader and make sure the hook passes through the needle eye.
The hook will catch the thread and when you release the threader, the machine will pull the thread neatly through the needle.
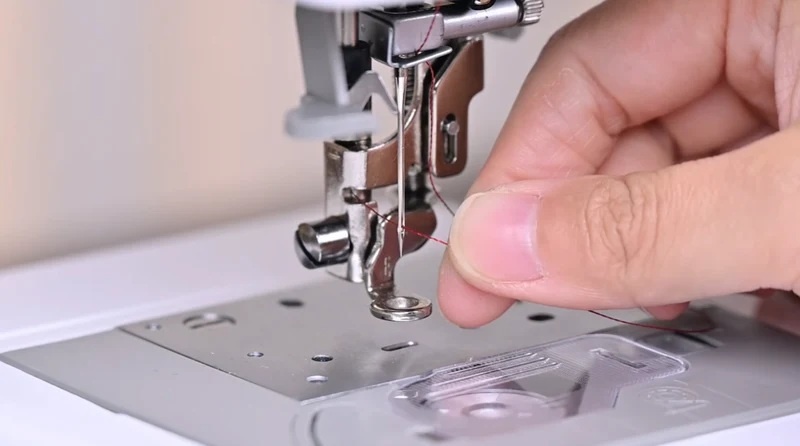
Option 2: manual threading
If you prefer, you can also thread the needle by hand. Tweezers make this much easier, especially when working with fine embroidery needles.
Trim the excess thread
You can use the thread cutter on the side of the embroidery machine to trim the thread tail once you are done with threading. Leaving an excessively long thread or a thread that is too short can affect the initial thread tension and increase the chance of loose stitches at the beginning of your design.
Ready to go!
You've now successfully threaded your PooLin embroidery machine!
Correct threading is one of the foundations of successful machine embroidery. Once you've practised the process a few times, setting up your machine will only take a minute or two. By threading your machine correctly every time, you'll enjoy smooth, consistent stitching, fewer thread breaks, better stitch quality, and less downtime troubleshooting tension issues.
Happy embroidering!
Browse our embroidery products
You can find everything you need to embroider right here.
We use cookies on this website to enhance your user experience. For an explanation on the types of cookies used, please see your personal settings. For more information please read our privacy policy.